 Helldivers 2
Helldivers 2 Builds: Explosive Support Gunner Guide
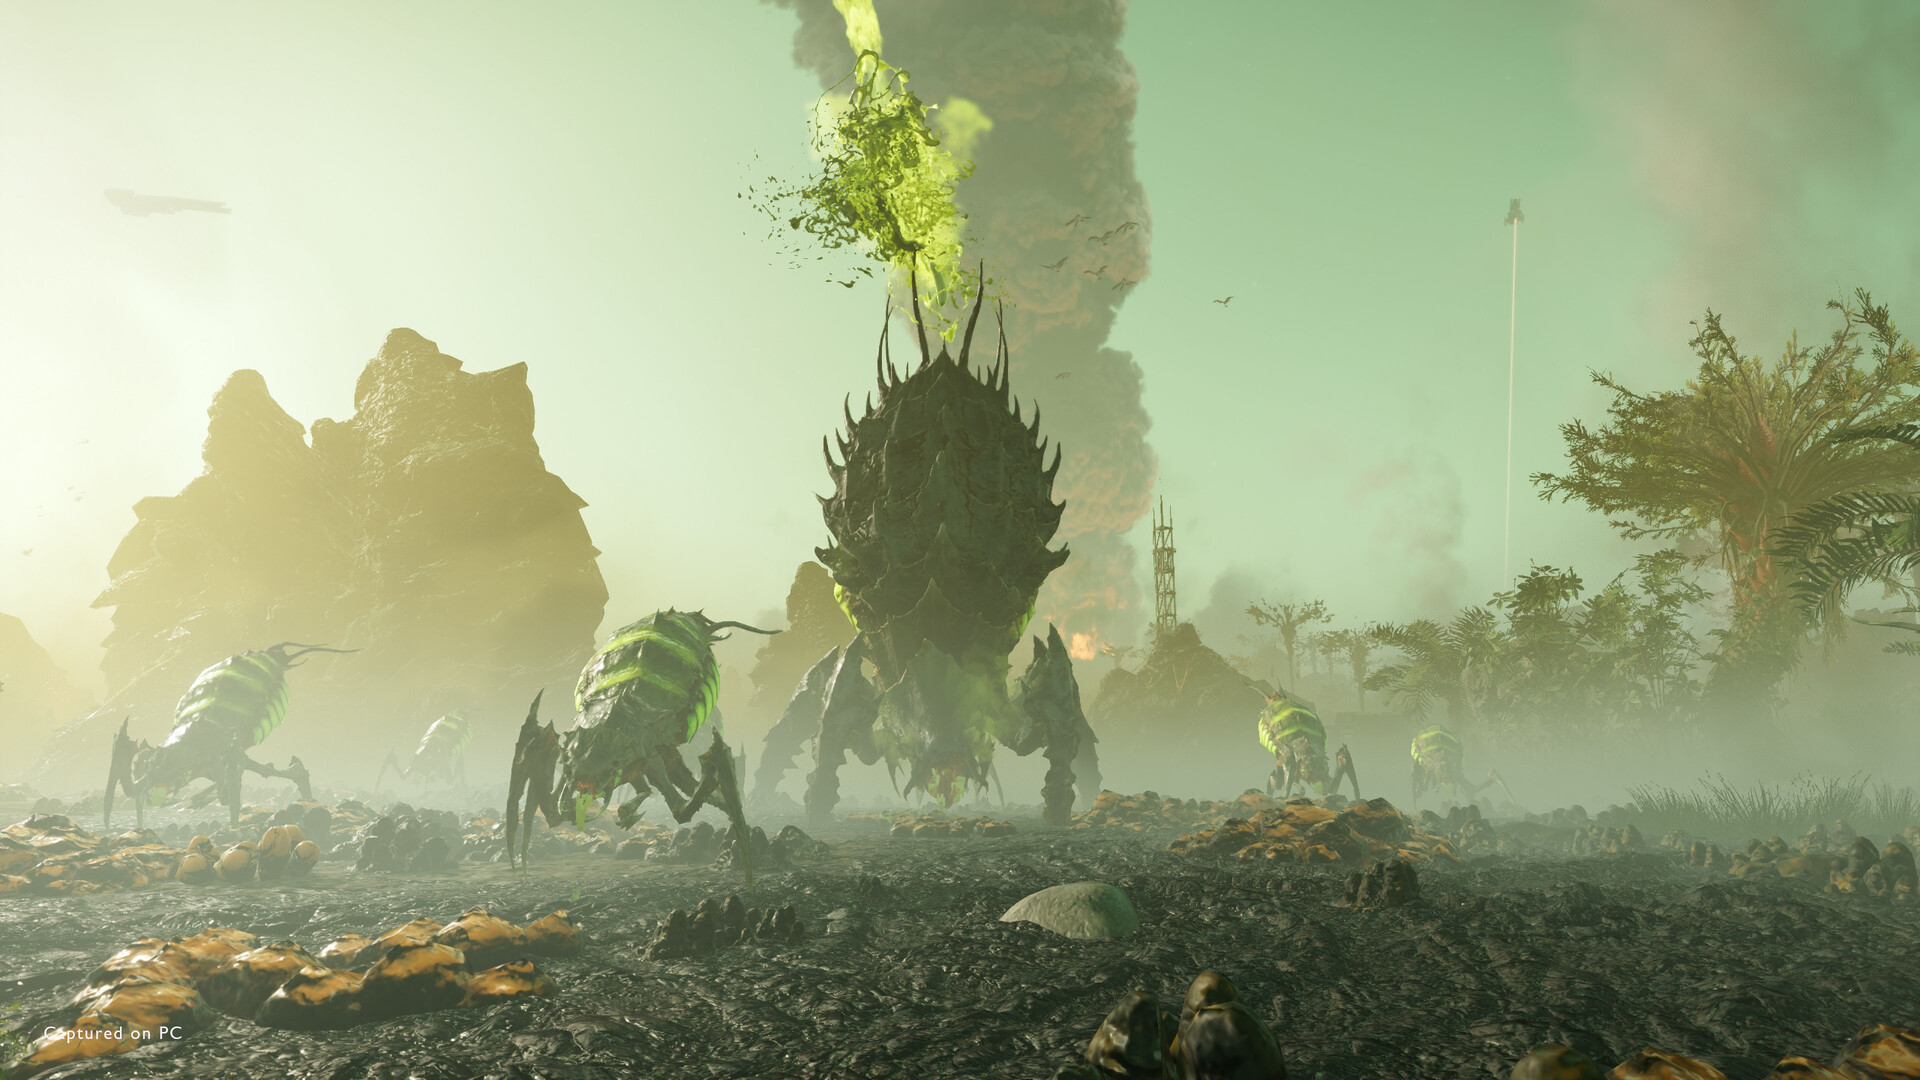
If you want helldivers 2 builds that feel strong in real matches instead of just looking good on a loadout screen, this one is built around controlled chaos: a durable support gunner who deletes armor, clears waves, and still helps the squad stay on its feet when the mission gets messy.
Build identity: a flexible anti-armor support anchor with enough crowd control to survive bad spawns and enough utility to keep the team moving. The pitch is simple: you are the person who makes enemy heavies stop being a problem, ideally before they turn your squad into a very democratic cautionary tale.
Helldivers 2 is a fast, frantic third-person shooter where every mission can go sideways in a second, so the best builds are the ones that stay useful under pressure. That matters even more when you look at how sticky the game has been for players: Steam currently shows "Mostly Positive" (75.1% positive) across 1150564 reviews Source, and Metacritic aggregates a critic score of 82/100 across 69 professional reviews Source. In other words, people are still very much in the trenches.
Build Overview
This is not a pure glass-cannon setup and it is not a stealth gimmick. It is one of the more practical helldivers 2 builds for public matches because it gives you answers to the stuff that actually ruins runs: armored targets, swarming trash, and allies who are one mistake away from being artillery fodder.
What it does well
- Breaks through heavier enemies without needing the whole squad to specialize.
- Stays effective when the battlefield gets crowded.
- Supports objective play because your kit is useful in both open fights and cramped defense points.
What it does poorly
- It is not the fastest solo farming setup.
- It can feel clunky if you do not like reloading, repositioning, and managing cooldown timing.
- You will still get punished if you stand still and try to tank the galaxy like a budget superhero.
Stat Priority
Helldivers 2 does not use the usual RPG stat soup, so the priority here is really about what your loadout leans on: survivability, cooldown economy, weapon handling, and mission utility.
Survivability first
You need armor and positioning tools before damage greed. If you stay alive, you keep your stratagems and weapon cycle online.Anti-armor capability
Heavy enemies are what make missions snowball. Your build should always have a reliable answer to chargers, hulks, tanks, or other problem units depending on the faction.Area control
A build that only kills one target at a time gets overwhelmed in the current meta. Splash, stagger, fire, mines, or burst utility matter a lot.Cooldown flexibility
Strong stratagems are only strong if you can call them at the right time. Anything that lets you use your tools more often is huge value.Ammo economy
If your plan falls apart after a few engagements, it is not a plan. It is a short-lived morale event.
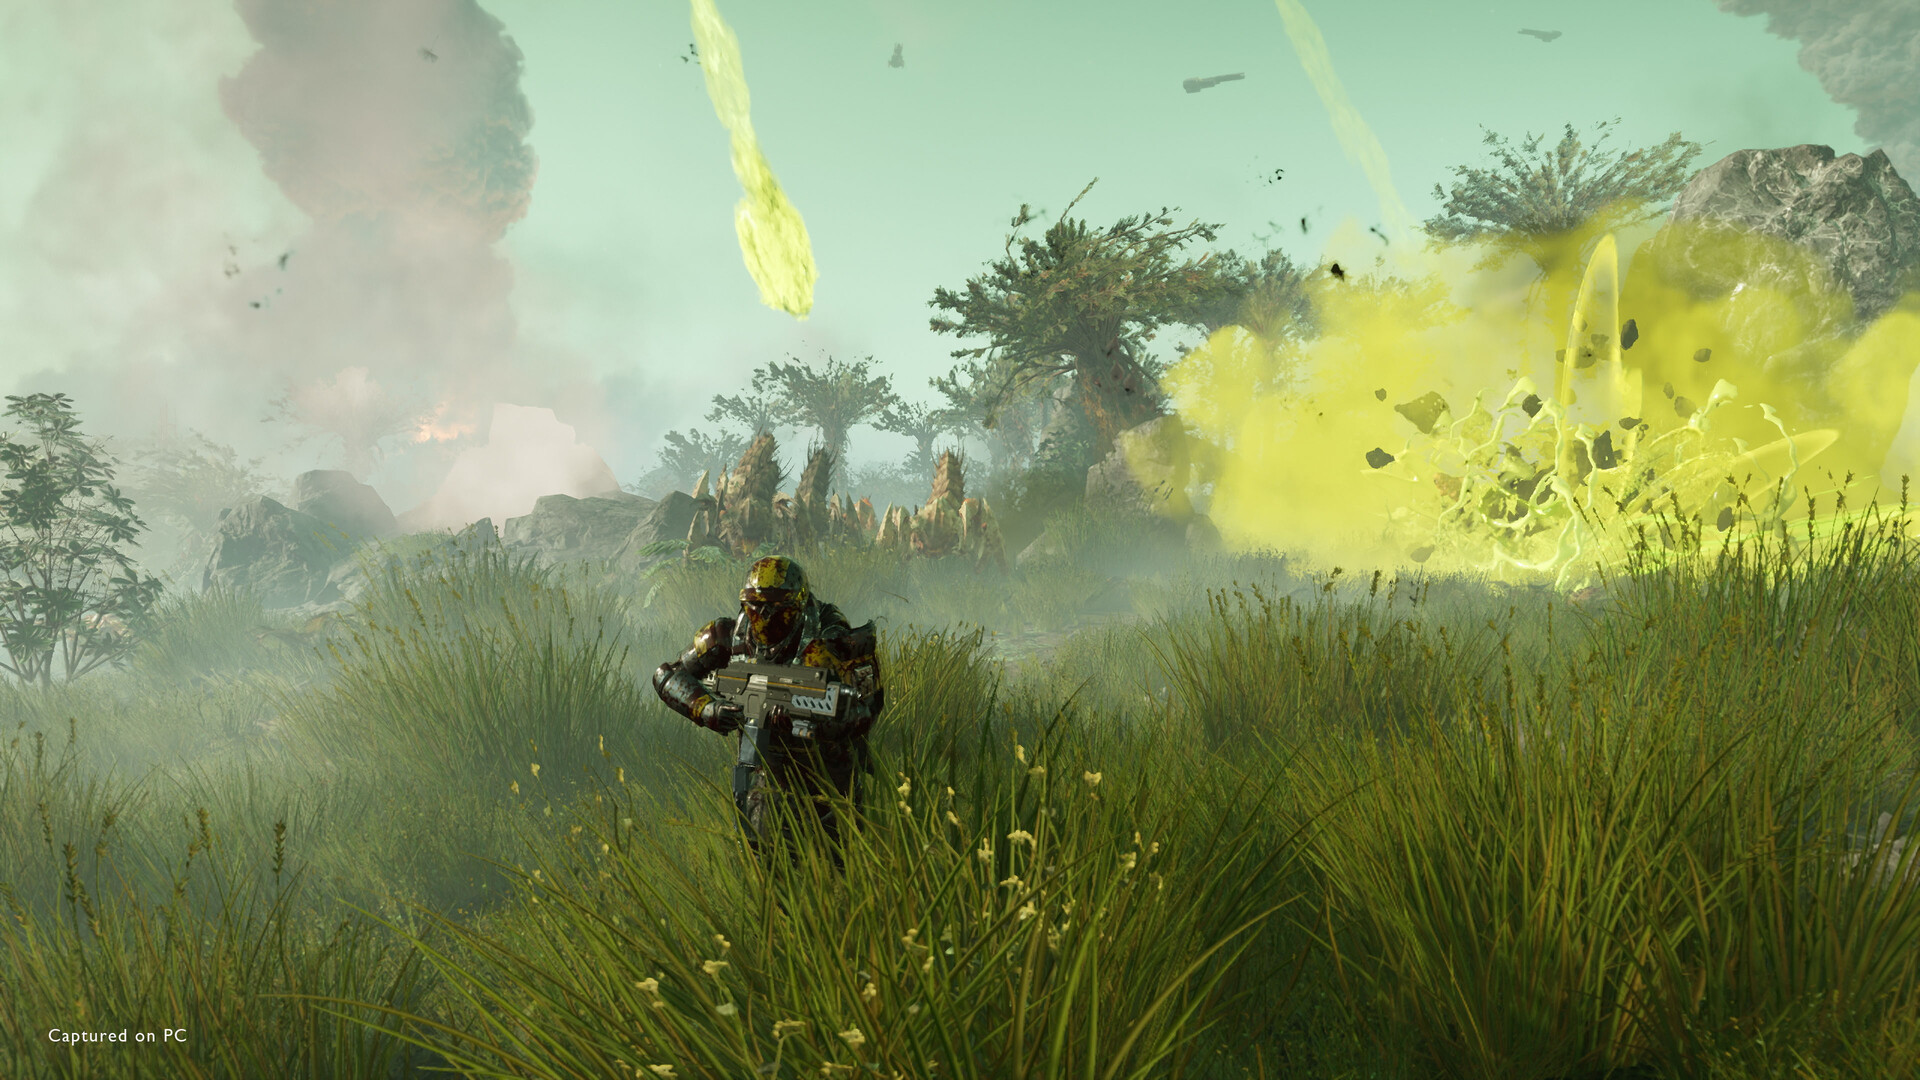
Loadout Table
This setup assumes a balanced support role that can anchor a team without becoming dead weight when enemies rush the line.
| Slot | Item | Reason |
|---|---|---|
| Primary | A dependable mid-range rifle or burst weapon | Lets you finish weakened enemies and handle medium targets without burning support ammo |
| Secondary | High-utility sidearm | Covers emergencies when your main weapon is dry or you need to snap off a quick kill |
| Support Weapon | Heavy anti-armor weapon | This is the core of the build; your job is to solve big target problems |
| Backpack | Shield or ammo-support option | Shield for safety, ammo support for sustained fights and team value |
| Offensive Stratagem 1 | Orbital strike or precision strike | Deletes priority targets and punishes grouped enemies |
| Offensive Stratagem 2 | Area denial tool | Great for choke points, extraction pressure, and defense objectives |
| Defensive Stratagem | Sentry or mine-style control tool | Helps when the mission turns into “everyone panic, but with guns” |
| Utility Stratagem | Mobility or reinforcement support | Keeps the squad moving and helps recover from bad positioning |
Ability Priority
If you want the build to feel smooth, use your tools in a consistent order instead of tossing stratagems like confetti.
Open with control
Drop a sentry, minefield, or area denial tool when you expect contact. That buys breathing room and forces enemies to walk into bad decisions.Use anti-armor on priority targets
Do not waste your heavy answer on random trash. Save it for the enemy that can actually collapse the fight.Clean up with the primary
Once the big target is handled, swap to your main weapon and trim the rest efficiently.Call offensive stratagems on dense waves or objectives
This is where your build earns its keep. Use orbital and area tools when the battlefield is stacked, not when one lonely target wandered into view.Reposition before the next wave
Standing still is how Helldivers 2 reminds you that the floor is lava, except the lava has armor plates and opinions.
Playstyle Notes
This build plays best when you act like the squad’s problem solver.
You are not trying to top damage charts by chasing every target. You are watching for the enemy units that force your team into panic movement, then removing them fast enough that everyone else can keep shooting. That makes the build especially good for missions with mixed armor pressure, objectives with repeat spawns, and extraction phases where the enemy starts getting a little too comfortable.
It also scales nicely with teammates. If another player is bringing a dedicated crowd-clear setup, you can lean harder into anti-armor. If the squad is light on control, you can carry more of that burden yourself.
For broader team synergies, see related guide on faction-specific counters and related guide on squad support loadouts.
Counters and Hard Matchups
This build is strong, but it is not immortal. A few things can shut it down if you get careless.
Fast flanking swarms
Small enemies that spread out and attack from multiple angles can overload you while your heavy tools are on cooldown.
Adaptation: keep at least one reliable crowd-control option and do not burn all your stratagems on the first wave.
Long sightline pressure
If enemies keep forcing you to fight at awkward ranges, your reload windows get exposed.
Adaptation: use cover more aggressively and lean on precision strikes or sentries to hold lanes.
Heavy armor spam
When the mission throws several durable enemies at once, a single anti-armor tool is not enough.
Adaptation: save your strongest answer for the most dangerous target and let your team finish the rest.
Chaos from bad terrain
Narrow spaces, cliffs, and visibility issues can make explosives and sentries as dangerous to you as to the enemy.
Adaptation: place control tools where they cover approach paths, not where they block your own movement.
Teammate overlap
If everyone runs the same “big boom” setup, the squad can end up short on ammo, revives, or consistent crowd control.
Adaptation: coordinate roles in the lobby so one player covers support, one covers crowd clear, and one covers armor.
Budget vs Endgame Variant
Not every squad is packing premium pieces from the start, and that is fine. This build works because it has a clear core idea, not because it depends on one exact item.
Budget starter version
Use:
- A common rifle you are comfortable controlling
- A basic sidearm with clean handling
- A simple anti-armor support weapon you can access early
- A sentry or area denial stratagem for extra breathing room
- A straightforward orbital strike for reliable burst damage
This version is great if you are still learning enemy behavior or do not have your preferred unlocks yet. It keeps the same job description: survive, control space, kill heavies.
Endgame version
Upgrade toward:
- A stronger anti-armor support weapon with better matchup coverage
- A more efficient defensive backpack option
- Stratagems with faster impact and better mission coverage
- A secondary choice that covers reload gaps or emergency targets more cleanly
At the top end, the build becomes much smoother because your tools come online faster and your mistakes are less punishing. The gameplay loop stays the same, though: make space, delete priority threats, and keep the squad moving.
FAQ
Is this one of the best Helldivers 2 builds for solo play?
It works solo, but it is better in a team. The build gets a lot more value when someone else can help cover crowd control or objectives while you focus on armor and pressure.
What faction is this build best against?
It is strongest when the mission throws mixed enemy types at you, especially where armored units are the main threat. If a faction is mostly about speed and swarm pressure, you may want more dedicated area control.
Do I need a shield backpack?
No, but it is one of the safer choices. If you are confident in positioning, you can swap to a more aggressive utility option and lean harder into damage or sustain.
Should I run more orbitals or more sentries?
That depends on the mission. Orbitals are better when you need burst and flexibility. Sentries are better when you expect repeated pressure in a fixed area.
Can newer players use this build?
Yes. It is actually a solid learning setup because it teaches good habits: target priority, spacing, ammo discipline, and when to call stratagems.
You might also like
- Helldivers 2 Walkthrough: A Complete Mission-First Guide
- Helldivers 2 tier list: Best Stratagems, Weapons, and Playstyle Picks
- Helldivers 2 Beginner Guide: Situational Survival, Team Play, and Escape Basics
- Helldivers 2 Beginner Guide
- Helldivers 2 Tier List Warbond: Best Warbonds Ranked
Sources
You might also like
- Helldivers 2 How to Find and Locate Chargers
- Helldivers 2 How to Find and Defeat Stalkers
- Helldivers 2 How to Matchmake and Join Public Games
- Helldivers 2 Viper Commandos Premium Warbond - Guide
- Helldivers 2 Why Now May Be the Perfect Time for a New Enemy Faction
See also
- Helldivers 2 on Xbox: Performance, Release & Features
- Helldivers 2 Beginner Guide: Start Strong on Super Earth
- Helldivers 2 Tier List Armor: Best Armor by Tier
- Helldivers 2 How to Find and Defeat Bile Titans
- Helldivers 2 codes: Beginner Guide for New Players
- Helldivers 2 on Xbox: Performance, Release & Features
- Helldivers 2 TR-7 Ambassador of the Brand Beginner Guide
- Helldivers 2 Urban Legends Premium Warbond - Guide
- Helldivers 2 DP-11 Champion of the People Beginner Guide
- Helldivers 2 How to Find and Defeat Bile Spewers
- Helldivers 2 Beginner Build Guide
- Helldivers 2 Force of Law Premium Warbond Beginner Guide
- Helldivers 2 Beginner Guide: Start Strong, Spend Smart, and Survive the Early War
- Helldivers 2 Beginner Guide: Getting Started on PS4, Smart Early Progress, and Common Mistakes
- Helldivers 2 Beginner Guide: Getting Started, Smart Progression, and the Helldivers 2 Cutting Edge Premium Warbond
See also
- Helldivers 2 Eagle Rearm Guide for Beginners
- Helldivers 2 Truth Enforcers Premium Warbond - Guide
- Helldivers 2 All Mission Types: Beginner Guide
- Helldivers 2 Beginner Guide: Xbox Launch and ODST Warbond Release Time
- Helldivers 2 How to Get the CM-17 Butcher Armor Set
- Helldivers 2 DP-40 Hero of the Federation Beginner Guide
- Helldivers 2 B-08 Light Gunner Beginner Guide
- Helldivers 2 Beginner Guide: Smart First Steps, Resources, and Common Mistakes
- Helldivers 2 DP-53 Savior of the Free Beginner Guide
- Helldivers 2 How to Farm Super Credits: Tips and Tricks
- Helldivers 2 How to Get the CE-67 Titan Armor Set
- Helldivers 2 Chemical Agents Premium Warbond Beginner Guide
- Helldivers 2 How to Get Armor Piercing Rounds: Beginner Guide
- Helldivers 2 CE-35 Trench Engineer Beginner Guide
- Helldivers 2 How to Get the EX-03 Prototype 3 Armor Set
Screenshots



Reviewed by
HD2 Guides Editorial
Expertise: Editorial team behind HD2 Guides. Content is compiled from official patch notes, community wikis, and playthrough notes, then reviewed and updated on schedule.
Sources
Helldivers 2 Loadouts Guides →
Browse the complete loadouts collection and its focused guides.
Related Guides

🔥 Popular Guides

Helldivers 2 helldivers 2 warhammer 40k collaboration update Patch Notes Explained
Helldivers 2’s Warhammer 40K crossover adds Castellan’s Creed, new weapons, armor, enemies, missions, SEAF allies, and more.
Helldivers 2 super helldive achievement guide
Achievement guide for Helldivers 2 covering rare trophies, hidden requirements, missable timing, and a full Super Helldive completion route.
HELLDIVERS™ 2 all achievements: complete achievements guide
Full Helldivers 2 achievements guide with rarest trophies, hidden unlocks, missables, and a 100% completion route.

Helldivers 2 patch notes 7.0.2: What changed in the Void update era
What changed in Helldivers 2 patch notes 7.0.2, including new Illuminate threats, SEAF support, the level cap increase, and squad action items.
📋 Patch Notes & Updates
🛠️ Popular Tools
Frequently Asked Questions
Quick answers from the guide · click a question to expand.
Is this one of the best Helldivers 2 builds for solo play?
It works solo, but it is better in a team. The build gets a lot more value when someone else can help cover crowd control or objectives while you focus on armor and pressure.
What faction is this build best against?
It is strongest when the mission throws mixed enemy types at you, especially where armored units are the main threat. If a faction is mostly about speed and swarm pressure, you may want more dedicated area control.
Do I need a shield backpack?
No, but it is one of the safer choices. If you are confident in positioning, you can swap to a more aggressive utility option and lean harder into damage or sustain.
Should I run more orbitals or more sentries?
That depends on the mission. Orbitals are better when you need burst and flexibility. Sentries are better when you expect repeated pressure in a fixed area.
Can newer players use this build?
Yes. It is actually a solid learning setup because it teaches good habits: target priority, spacing, ammo discipline, and when to call stratagems.
Was this guide helpful?
Rate this guide so we can improve it.
Share your own tip
Found something not in the guide? Submit it below — our editors review every tip before publishing. No account required.