 Helldivers 2
Helldivers 2 Armor Tier List: Best Armor Passives Ranked

Last checked: July 31, 2026. This page targets helldivers armor tier list, helldivers 2 armor tier list, and best armor passive helldivers 2 searches.
Armor in Helldivers 2 is not just light, medium, or heavy. The passive is often the real item. A medium set with a passive that supports your build can outperform a heavy set that only makes you slower. A light set with Scout can finish an objective without a fight. A Fortified heavy set can turn bot rockets from instant disaster into a recoverable mistake.
For the full meta hub, use the Helldivers 2 tier list. For Super Credit spending, use the Helldivers 2 Warbond tier list. For quiet objective play, use the Helldivers 2 stealth guide.
Quick Armor Passive Ranking
| Tier | Passive | Best for | Why it ranks here |
|---|---|---|---|
| S | Med-Kit | Survival, learning hard missions, support | More stim uptime saves runs before they collapse |
| S | Engineering Kit | Grenade builds, bug holes, bot fabricators | Extra grenades plus recoil control is always useful |
| S | Fortified | Automatons, explosives, heavy weapons | Explosive resistance and recoil control are high-value on bot fronts |
| A | Scout | Solo, stealth, commando objectives | Detection reduction and radar routing are excellent when the squad cooperates |
| A | Reduced Signature style stealth passives | Suppressed weapon builds | Strong for stealth, weaker if the squad goes loud immediately |
| A | Siege-Ready | Rifle uptime, ammo-heavy builds | Reload and ammo economy can carry long fights |
| B | Democracy Protects | Clutch survival | Powerful when it triggers, but reactive rather than proactive |
| B | Servo-Assisted | Long stratagem throws | Useful with practice, but can disturb throw muscle memory |
| B | Peak Physique | Heavy handling and melee plans | Excellent in specific builds, not universal |
| C | Pure resistance niche passives | Element-heavy missions | Great on the right planet, quiet on the wrong one |
| C | Extra Padding | Starter comfort | Fine early, but usually replaced by a real passive |
S Tier Explained
Med-Kit is S tier because it buys time. More stim value lets you recover from chip damage, survive messy extracts, and correct mistakes without immediately spending a reinforcement. On high difficulty, the best armor passive is often the one that lets you stay alive long enough to call the answer.
Engineering Kit is S tier because grenades solve practical problems. Two extra grenades can close more holes, finish more armor, interrupt a bad push, or cover an objective retreat. The recoil benefit also makes crouched and prone shooting more reliable.
Fortified is S tier when Automatons or explosives are the problem. The recoil reduction helps controlled fire, while explosive resistance gives you a better chance to survive rockets, grenades, and teammate mistakes. It is less exciting than a weapon unlock, but it changes outcomes.

Passive Uptime Matters More Than Fashion
The best armor passive is the one that changes the most seconds of the mission. Med-Kit changes every bad trade. Engineering Kit changes every grenade route and every recoil-heavy fight. Fortified changes every bot engagement where rockets, explosions, and controlled fire matter. Scout changes every crossing where being seen would start a reinforcement chain.
Cosmetic appeal matters for fun, but it should not drive the ranking. If two armor sets look equally good, pick the passive that solves the problem you face most often. If one looks better but the passive never triggers, it belongs lower in a tier list.
Armor Weight Ranking
| Tier | Weight | Why |
|---|---|---|
| S | Medium | Best default balance of speed, protection, and passive access |
| A | Light | Best for stealth, samples, speed, and objective chains |
| A | Heavy | Best when the mission is a fight you cannot avoid |
Medium is the best all-purpose armor weight because it gives enough speed to rotate and enough toughness to survive small mistakes. Light armor is better when you are choosing fights. Heavy armor is better when the fight is guaranteed and exposure is the limiting factor.
The mistake is thinking heavy always means safer. If heavy armor makes you late to cover, late to extraction, or unable to leave a bad fight, it can create the death it was supposed to prevent.
A Tier Explained
Scout is the most misunderstood armor passive. It is not magic invisibility. It is a routing tool. The detection reduction is valuable when you crouch, go prone, break line of sight, and use map pings to choose routes. It is much weaker if your squad shoots every patrol on sight.
Reduced Signature style stealth armor is A tier because stealth received better support through suppressed weapons and commando mission design. When paired with quiet weapons and controlled movement, it can keep objectives clean. When paired with loud teammates, it loses value fast.
Siege-Ready is A tier for players who hate losing tempo to reloads. It shines with primary weapons that run dry during swarm pressure. It is less universal than Med-Kit or Engineering Kit, but it can be the best passive for rifle-focused squads.
B Tier Explained
Democracy Protects is famous because it creates memorable saves. The problem is that it is reactive. It helps after lethal damage arrives. S-tier passives often help before that point. Still, if your squad plays with heavy friendly fire, risky explosives, or chaotic extracts, Democracy Protects earns its slot.
Servo-Assisted is better than it looks if you use long stratagem throws from cover. It can start fights safely, land objectives from better angles, and keep you farther from danger. The downside is that it changes throwing feel, so players who swap armor constantly may miss throws.
Peak Physique belongs in B or A depending on your weapon plan. Heavy handling weapons appreciate it. Generic rifle users usually get more from grenades, stims, stealth, or explosive resistance.
Light, Medium, Or Heavy?
| Armor weight | Best use | Watch out for |
|---|---|---|
| Light | Stealth, sample routes, fast objectives | Lower mistake tolerance |
| Medium | General play, balanced squads | Less specialized |
| Heavy | Bots, defense, explosive pressure | Slow rotations and harder retreats |
Light armor is the best fit for stealth and sample routing. Medium armor is the safest default for most players. Heavy armor is strongest when you know the mission will punish exposure more than speed.
The mistake is choosing weight before passive. Start with the passive you need, then choose the weight that lets your route work.
Best Armor By Mission Type
| Mission need | Recommended passive | Why |
|---|---|---|
| Bot front | Fortified | Explosive resistance and controlled fire |
| Bug swarm | Engineering Kit or Med-Kit | Grenades and stim uptime matter constantly |
| Stealth objective | Scout or Reduced Signature | Avoids fights instead of winning every fight |
| Long extract | Med-Kit | Extra recovery wins ugly endings |
| Ammo-heavy rifle build | Siege-Ready | Keeps pressure up between reloads |
| Stratagem throw play | Servo-Assisted | Starts fights from safer positions |
Best Armor Combos
| Armor passive | Pair with | Result |
|---|---|---|
| Med-Kit | Shield, supply, support loadouts | High recovery and safer rescues |
| Engineering Kit | Grenade objectives, demolition Warbonds | Faster bug hole and fabricator cleanup |
| Fortified | Precision rifles, bot-front support | Better recoil and explosive tolerance |
| Scout | Suppressed weapons, stealth routes | Fewer patrol fights and cleaner objectives |
| Siege-Ready | Ammo-hungry rifles, sustained fire | Better uptime in long fights |
| Servo-Assisted | Orbitals, eagles, long throws | Safer openings from better distance |
These combos are why armor passives deserve their own page. A passive is not isolated; it changes which Warbond, weapon, and stratagem picks become comfortable.
Best Armor For Stealth
For stealth, run light armor with Scout or a stealth-specific passive when possible. Then treat the passive as a route advantage, not permission to sprint. Stay prone near patrol paths, crouch near objective edges, and avoid firing past enemies that can see the shot direction.
The best stealth armor is only one part of the kit. Pair it with suppressed weapons and route discipline from the Helldivers 2 stealth guide. If you want stealth gear from Warbonds, the Warbond tier list covers Redacted Regiment and other stealth-relevant picks.
Best Armor For Warbond Buyers
If you are deciding which Warbond to buy because of armor, ask whether the passive changes your most common mission:
- Need stealth? Prioritize stealth passives.
- Need reload and ammo economy? Look at Siege-Ready.
- Need explosives and bot safety? Fortified-style value matters.
- Need healing and consistency? Med-Kit remains excellent.
Do not buy a Warbond only because one armor set looks good. Buy it because the passive answers a mission you actually run.
FAQ
What is the best armor passive in Helldivers 2?
Med-Kit, Engineering Kit, and Fortified are the best general passives. Scout and stealth passives are best when the mission rewards quiet routing.
Is heavy armor best?
Not always. Heavy armor helps against direct pressure, but light armor can be better for stealth, samples, and fast objective chains.
Is Scout armor worth it?
Yes for solo, stealth, commando objectives, and patrol avoidance. It is much weaker in loud squads that trigger every fight.
What armor should new players use?
Use Med-Kit or Engineering Kit first. They are easy to understand and valuable even when your loadout is not optimized.
What armor is best against bots?
Fortified is the safest bot-front answer because explosive resistance and recoil control both matter. Medium or heavy Fortified sets are usually easier than light armor for public bot missions.
What armor is best against bugs?
Engineering Kit and Med-Kit are the safest bug-front answers. Extra grenades help with holes and swarms, while extra stim value buys time when hunters or chargers force mistakes.
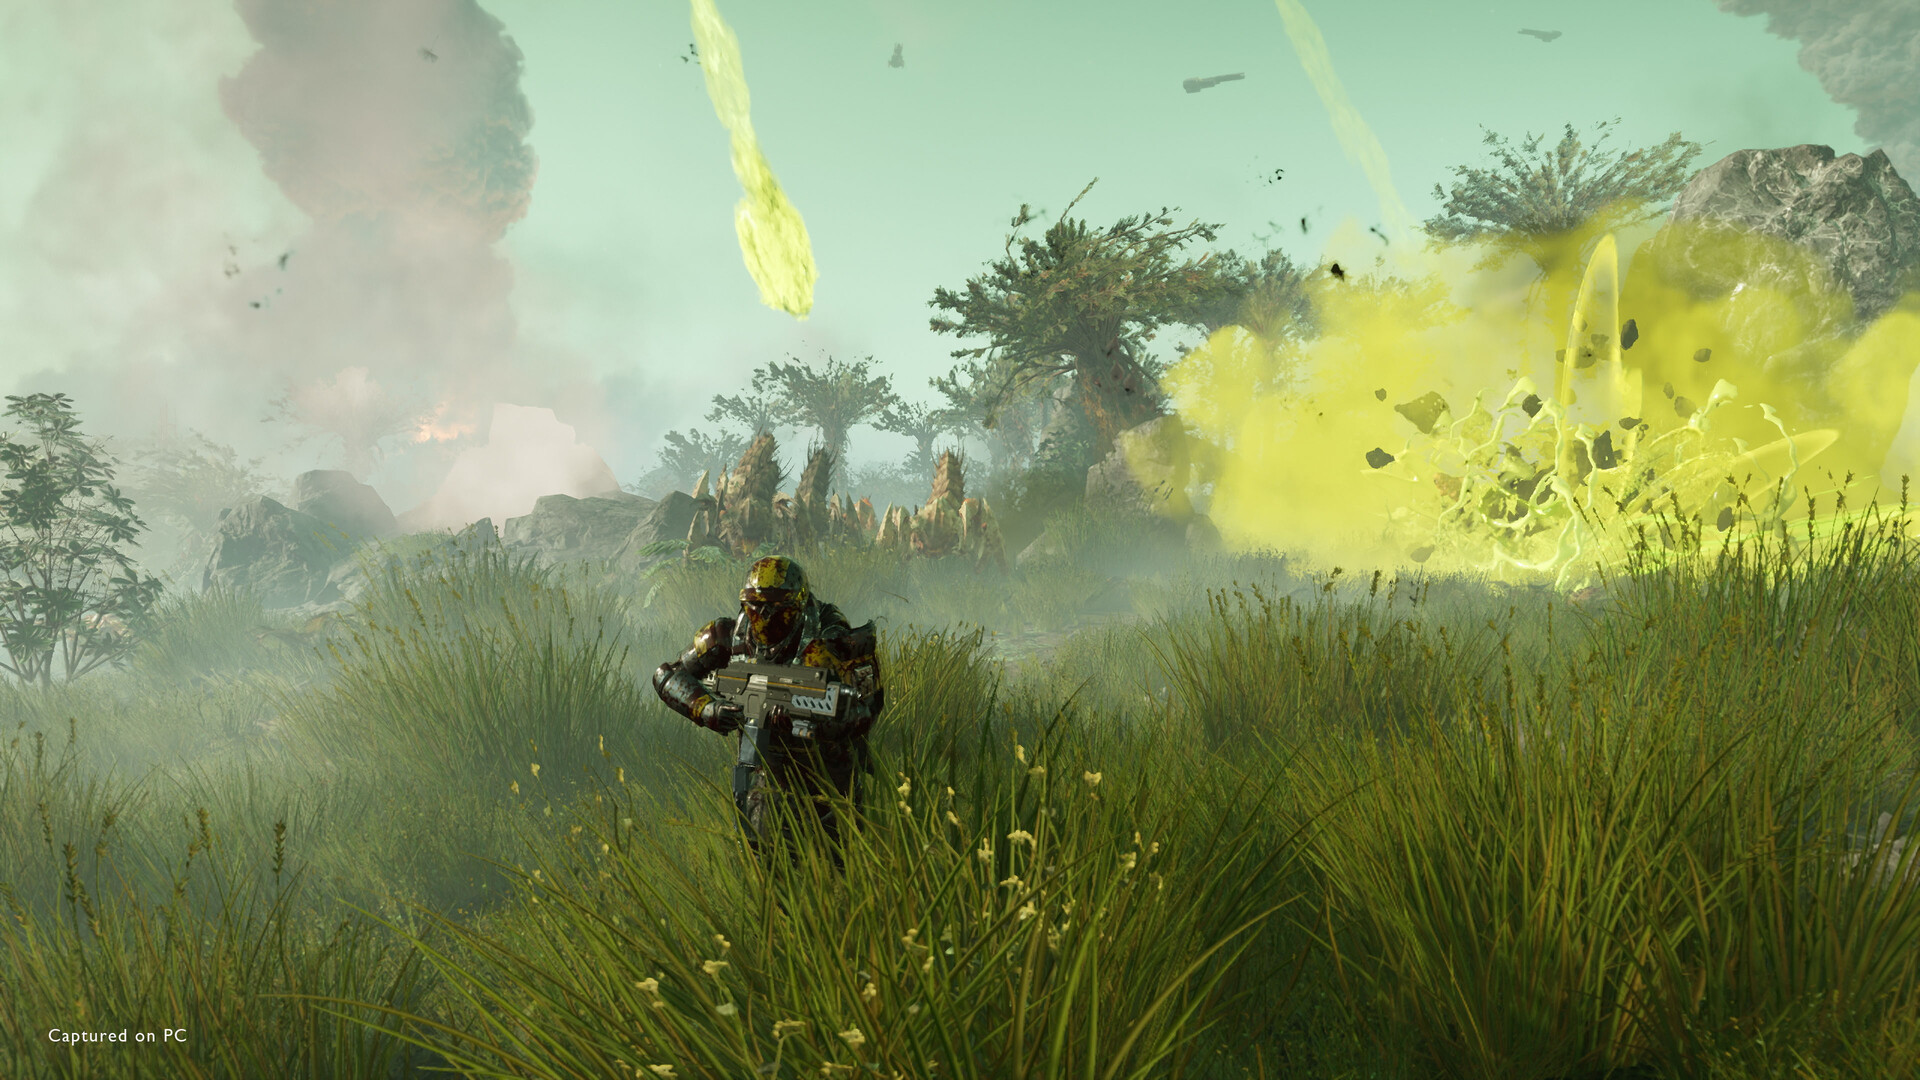
Screenshots


Reviewed by
HD2 Guides Editorial
Expertise: Editorial team behind HD2 Guides. Content is compiled from official patch notes, community wikis, and playthrough notes, then reviewed and updated on schedule.
Sources
Helldivers 2 Stratagems Guides →
Browse the complete stratagems collection and its focused guides.
Related Guides




🔥 Popular Guides
Helldivers 2 helldivers 2 warhammer 40k collaboration update Patch Notes Explained
Helldivers 2’s Warhammer 40K crossover adds Castellan’s Creed, new weapons, armor, enemies, missions, SEAF allies, and more.
Helldivers 2 super helldive achievement guide
Achievement guide for Helldivers 2 covering rare trophies, hidden requirements, missable timing, and a full Super Helldive completion route.
HELLDIVERS™ 2 all achievements: complete achievements guide
Full Helldivers 2 achievements guide with rarest trophies, hidden unlocks, missables, and a 100% completion route.

Helldivers 2 patch notes 7.0.2: What changed in the Void update era
What changed in Helldivers 2 patch notes 7.0.2, including new Illuminate threats, SEAF support, the level cap increase, and squad action items.
📋 Patch Notes & Updates
🛠️ Popular Tools
Frequently Asked Questions
Quick answers from the guide · click a question to expand.
What is the best armor passive in Helldivers 2?
Med-Kit, Engineering Kit, and Fortified are the best general passives. Scout and stealth passives are best when the mission rewards quiet routing.
Is heavy armor best?
Not always. Heavy armor helps against direct pressure, but light armor can be better for stealth, samples, and fast objective chains.
Is Scout armor worth it?
Yes for solo, stealth, commando objectives, and patrol avoidance. It is much weaker in loud squads that trigger every fight.
What armor should new players use?
Use Med-Kit or Engineering Kit first. They are easy to understand and valuable even when your loadout is not optimized.
What armor is best against bots?
Fortified is the safest bot-front answer because explosive resistance and recoil control both matter. Medium or heavy Fortified sets are usually easier than light armor for public bot missions.
What armor is best against bugs?
Engineering Kit and Med-Kit are the safest bug-front answers. Extra grenades help with holes and swarms, while extra stim value buys time when hunters or chargers force mistakes.
Was this guide helpful?
Rate this guide so we can improve it.
Share your own tip
Found something not in the guide? Submit it below — our editors review every tip before publishing. No account required.