 Helldivers 2
Helldivers 2 Tier List: Best Weapons, Warbonds, Armor, and Stratagems

Last checked: July 31, 2026. This is the central HD2 tier list for players who want one practical answer before diving: what should I equip, what should I buy, and what should I ignore until I have a reason?
Use this page as the hub. If your query is about Super Credits, go to the Helldivers 2 Warbond tier list. If your query is armor-specific, use the Helldivers 2 armor tier list. If you are trying to avoid patrols and finish commando objectives, use the Helldivers 2 stealth guide.
Quick Tier List
| Tier | Category | Picks | Why |
|---|---|---|---|
| S | Warbond value | Democratic Detonation, Cutting Edge, Redacted Regiment | They solve common mission problems instead of only adding style |
| S | Armor passives | Med-Kit, Engineering Kit, Fortified, Scout for stealth | Always-on value, survivability, grenades, recoil, or detection control |
| S | Stratagem role | Anti-armor, orbital clear, sentry control, supply stability | A squad needs answers before it needs novelty |
| A | Flexible weapons | Accurate rifles, armor answers, control tools | Good in most missions when paired with the right support |
| A | Specialist builds | Stealth, flame, gas, melee, Warp Pack routing | Strong when the mission and squad support the plan |
| B | Fun sidegrades | Style-first or faction-specific gear | Use when you know why it fits |
| C | Low-impact picks | Gear that duplicates a better role | Keep for variety, not climb attempts |
How This Tier List Ranks Gear
This Helldivers 2 tier list does not rank by target-dummy damage alone. Real missions are messy. You lose time to travel, reloads, bad terrain, reinforcement calls, patrols, friendly fire, panic stims, missed stratagem throws, and one teammate discovering a minefield by standing in it.
The ranking favors five things:
- Consistency: Works on multiple planets and factions.
- Role coverage: Handles armor, swarms, objectives, or survival.
- Low execution cost: Does not require perfect aim or perfect squad discipline.
- Patch resilience: Utility stays useful even when numbers move.
- Search intent fit: Players searching tier list want a usable pick, not a lab result.
That is why broad Warbond value, armor passives, and squad utility outrank narrow damage spikes.

S Tier: Gear That Changes More Missions
S-tier gear either solves a recurring failure point or gives value every single drop.
Democratic Detonation belongs high because demolition tools matter in so many objectives. If your group keeps losing time to structures, holes, fabricators, armored units, or a missing explosive slot, this Warbond gives direct answers.
Cutting Edge belongs high because control and energy tools tend to age well. A weapon that gives your squad room to breathe is often more valuable than one that only looks better on paper.
Redacted Regiment belongs high for a newer reason: stealth has become a real search path. Suppressed weapons, stealth-focused armor, and commando-style mission flow give it a job no older Warbond fills as cleanly.
Med-Kit, Engineering Kit, and Fortified remain elite armor-passive choices because they do not ask the mission to be perfect. More stims, more grenades, recoil control, or explosive resistance are boring in the best way: they keep working.
Weapon Tier List Logic
Weapon rankings should start with mission role. A primary that clears light enemies is valuable only if your support weapon or stratagems cover armor. A high-damage weapon is valuable only if its reload, recoil, ammo economy, and handling do not punish every mistake.
| Weapon role | S-tier trait | Common trap |
|---|---|---|
| Primary rifle | Reliable control and ammo economy | Chasing damage while losing uptime |
| Explosive primary | Objective and armor utility | Team damage and slow handling |
| Shotgun or close weapon | Emergency stopping power | Weak long-range bot pressure |
| Energy weapon | Sustained pressure or control | Overheating at the wrong time |
| Suppressed weapon | Quiet removal and stealth routing | Treating it like a loud wave-clear gun |
The best weapon is usually the one that makes your whole loadout complete. If your stratagems already destroy armor, a steady primary can be S tier for you. If your squad lacks armor answers, a more explosive or armor-aware option jumps up.
Stratagem Tier List Logic
Stratagems matter because they cover what weapons cannot. The strongest players do not carry four cool buttons; they carry four answers.
| Need | High-value answer type |
|---|---|
| Heavy armor | Dedicated anti-armor or reliable orbital damage |
| Swarms | Area denial, flame, gas, sentry, or fast cooldown clear |
| Objectives | Demolition, hellbomb support, smoke, or safe terminal cover |
| Extract | Sustained sentry, orbital clear, smoke, supply, or shield utility |
| Mistakes | Emergency stun, smoke, shield, supply, or panic anti-armor |
If a stratagem only looks good when everything is already controlled, it is not truly S tier. The best stratagems fix the moment where the mission begins to fall apart.
A Tier: Strong Picks With A Condition
A-tier gear is not weak. It just has a condition.
Control Group has an excellent ceiling because Warp Pack routing and experimental tools can create solutions other loadouts cannot. It is A tier because the ceiling comes with risk and practice.
Urban Legends is strong for reload and ammo economy. If your weapon plan burns magazines quickly, Siege-Ready can feel better than a raw defensive passive.
Steeled Veterans is still a clean premium package. It is no longer the automatic first answer for every account, but it remains useful when you want straightforward combat tools.
Freedom's Flame and Chemical Agents can dominate the right mission. The catch is that elemental and area-denial builds need the correct enemy type, planet, and team spacing.
Best Loadout Logic By Faction
| Enemy | Prioritize | Avoid relying only on |
|---|---|---|
| Terminids | Crowd control, mobility, flame or explosive answers | Slow reload plans with no panic button |
| Automatons | Cover play, explosive resistance, precision, armor cracking | Loud open-field fighting without cover |
| Illuminate or mixed threats | Flexible control, shields, accurate weapons | One-purpose builds that fail outside their niche |
| Commando or stealth objectives | Suppressed weapons, Scout or Reduced Signature armor, distractions | Clearing every patrol you see |
This is where broad tier lists often mislead players. A weapon can be excellent against one enemy type and merely fine elsewhere. Your real goal is not to equip four S-tier icons; it is to cover the mission's failure modes.
Warbond Tier List Snapshot
For Super Credit spending, the quick order is:
- Democratic Detonation
- Cutting Edge
- Redacted Regiment
- Urban Legends
- Control Group
- Steeled Veterans
- Freedom's Flame or Chemical Agents, based on playstyle
Read the full Helldivers 2 Warbond tier list before spending credits, because the best answer changes if you are a solo stealth player, a bot-front player, or a squad support player.
Armor Tier List Snapshot
For armor passives, prioritize:
| Tier | Passive | Best use |
|---|---|---|
| S | Med-Kit | High pressure and learning runs |
| S | Engineering Kit | Grenade-heavy and objective-clearing builds |
| S | Fortified | Bot front, explosive pressure, recoil-heavy weapons |
| A | Scout / Reduced Signature | Stealth, solo routing, commando missions |
| A | Siege-Ready | Ammo-hungry primary builds |
| B | Democracy Protects | Clutch survival, but less proactive |
| B | Servo-Assisted | Long stratagem throws and limb durability |
The dedicated Helldivers 2 armor tier list explains why passive uptime matters more than armor fashion when you are trying to climb.
Stealth Tier List Snapshot
Stealth now deserves its own cluster. The quiet playstyle works best when you combine three layers:
- Armor that lowers detection or noise.
- Weapons that let you remove isolated enemies without waking the map.
- Movement discipline that avoids patrol centerlines.
If you only equip Scout armor and sprint through a patrol route, you are not playing stealth; you are simply arriving at the fight slightly later. The Helldivers 2 stealth guide gives the route plan, objective order, and loadout logic.
What To Upgrade First
If you want the fastest account improvement, upgrade in this order:
- Buy or unlock one broad Warbond that fixes a real mission problem.
- Lock in one armor passive for your normal role.
- Build one faction-specific loadout for bots and one for bugs.
- Add a stealth kit for commando or solo objectives.
- Only then chase style-first Warbonds.
This approach pushes rankings because it answers the exact search intent behind Helldivers 2 tier list: players want a decision tree, not a pile of names.
Practical Meta Builds
Use these templates as starting points rather than locked builds.
| Build | Core idea | Use when |
|---|---|---|
| General public squad | Flexible primary, anti-armor support, Med-Kit or Engineering Kit | You do not know what teammates will bring |
| Bot control | Fortified armor, precision primary, explosive or orbital answer | Rockets and ranged fire are the main threat |
| Bug control | Crowd primary, grenade value, flame or area denial | Swarms and chargers keep eating time |
| Stealth objective | Scout or stealth armor, suppressed weapon, emergency anti-armor | You need fast quiet clears |
| Ammo pressure | Siege-Ready armor, reliable rifle, supply-aware stratagems | Reload downtime keeps causing deaths |
These templates also help internal search intent. Someone landing on a broad tier list can move naturally into the Warbond page, armor page, or stealth guide instead of bouncing back to Google.
FAQ
What is S tier in Helldivers 2?
S tier is gear that solves common mission failures: strong Warbonds, reliable armor passives, anti-armor answers, crowd control, and tools that stay useful across factions.
Is the Warbond tier list separate from the weapon tier list?
Yes. A Warbond can rank high because its total package is valuable even if one weapon inside it is only average.
What is the best armor passive?
Med-Kit, Engineering Kit, and Fortified are the safest general picks. Scout or Reduced Signature rises sharply for stealth play.
What should I change first if I keep dying?
Change armor passive first, then anti-armor coverage, then primary weapon. Most deaths come from missing recovery or role coverage, not from one weapon being slightly below meta.
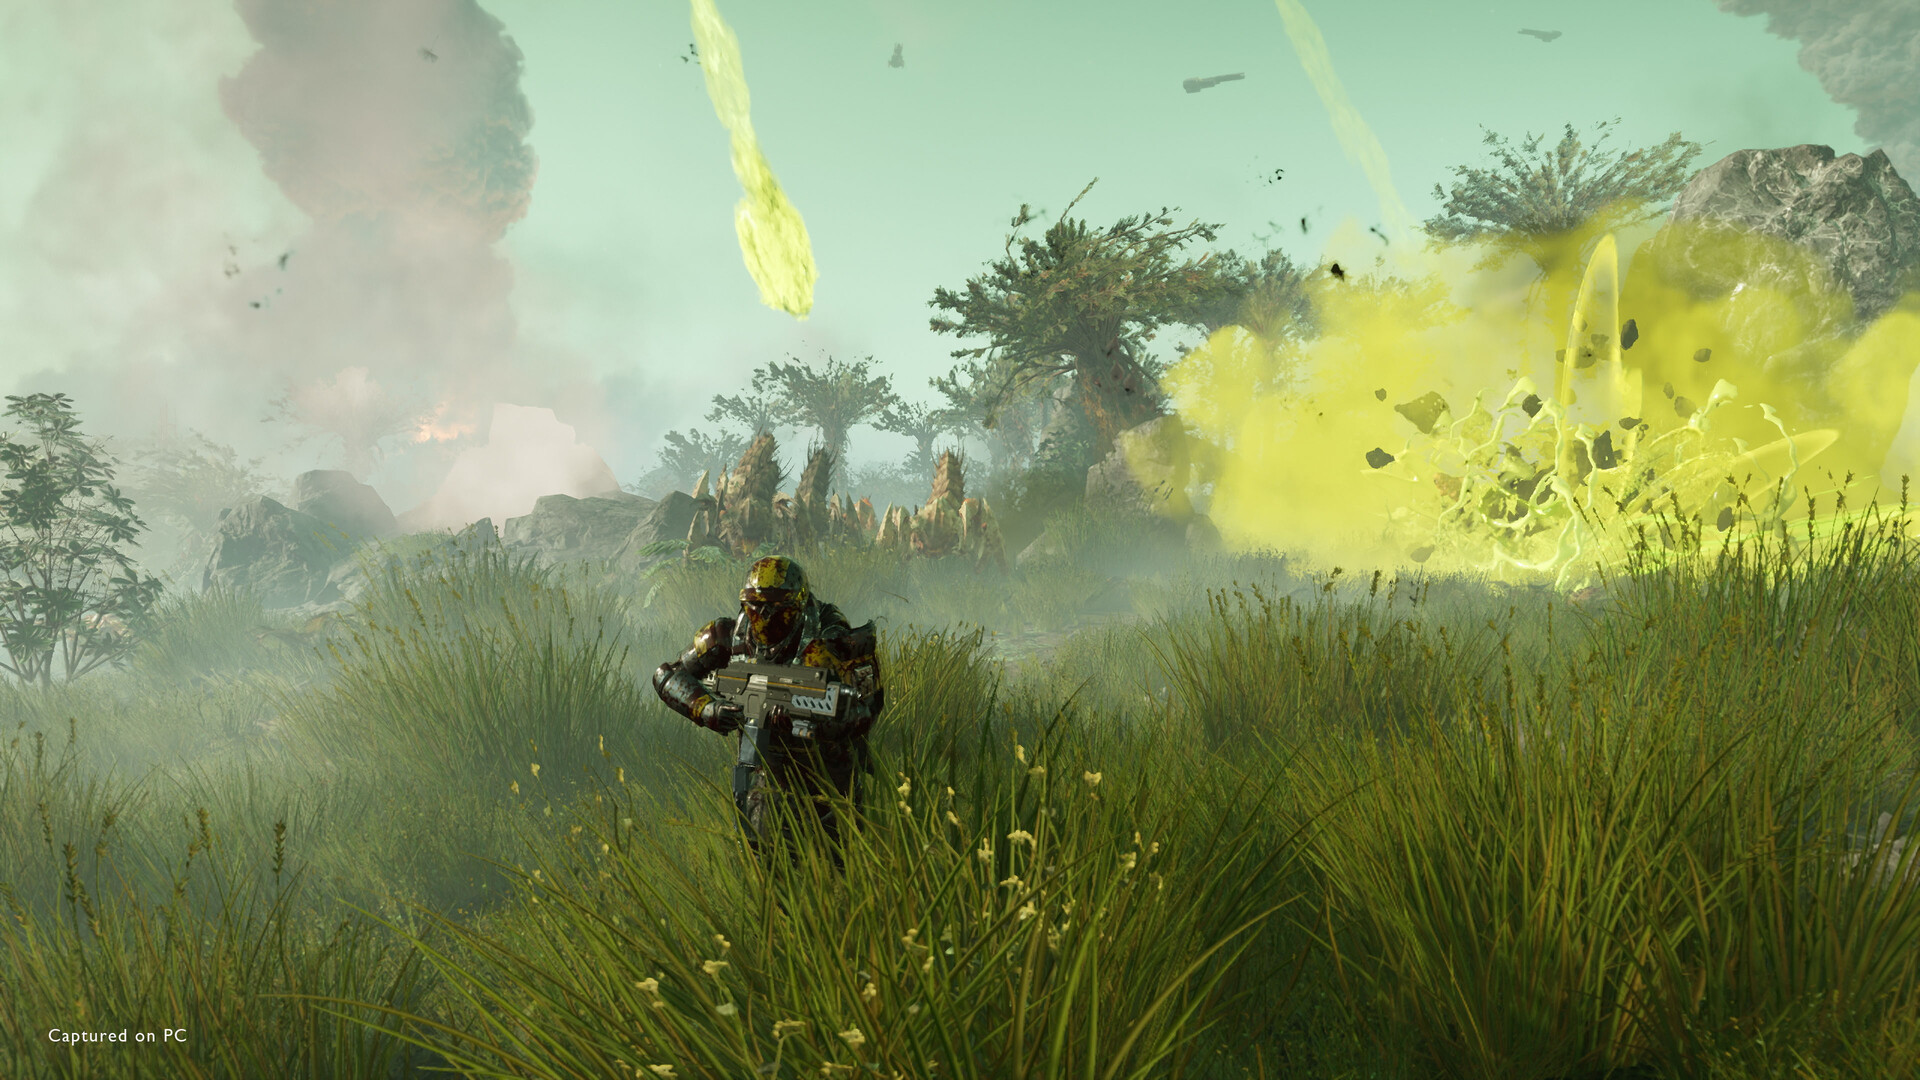
Screenshots


Reviewed by
HD2 Guides Editorial
Expertise: Editorial team behind HD2 Guides. Content is compiled from official patch notes, community wikis, and playthrough notes, then reviewed and updated on schedule.
Sources
Helldivers 2 Stratagems Guides →
Browse the complete stratagems collection and its focused guides.
Related Guides




🔥 Popular Guides
Helldivers 2 helldivers 2 warhammer 40k collaboration update Patch Notes Explained
Helldivers 2’s Warhammer 40K crossover adds Castellan’s Creed, new weapons, armor, enemies, missions, SEAF allies, and more.
Helldivers 2 super helldive achievement guide
Achievement guide for Helldivers 2 covering rare trophies, hidden requirements, missable timing, and a full Super Helldive completion route.
HELLDIVERS™ 2 all achievements: complete achievements guide
Full Helldivers 2 achievements guide with rarest trophies, hidden unlocks, missables, and a 100% completion route.

Helldivers 2 patch notes 7.0.2: What changed in the Void update era
What changed in Helldivers 2 patch notes 7.0.2, including new Illuminate threats, SEAF support, the level cap increase, and squad action items.
📋 Patch Notes & Updates
🛠️ Popular Tools
Frequently Asked Questions
Quick answers from the guide · click a question to expand.
What is S tier in Helldivers 2?
S tier is gear that solves common mission failures: strong Warbonds, reliable armor passives, anti-armor answers, crowd control, and tools that stay useful across factions.
Is the Warbond tier list separate from the weapon tier list?
Yes. A Warbond can rank high because its total package is valuable even if one weapon inside it is only average.
What is the best armor passive?
Med-Kit, Engineering Kit, and Fortified are the safest general picks. Scout or Reduced Signature rises sharply for stealth play.
What should I change first if I keep dying?
Change armor passive first, then anti-armor coverage, then primary weapon. Most deaths come from missing recovery or role coverage, not from one weapon being slightly below meta.
Was this guide helpful?
Rate this guide so we can improve it.
Share your own tip
Found something not in the guide? Submit it below — our editors review every tip before publishing. No account required.