 Helldivers 2
Helldivers 2 Walkthrough: A Complete Mission-First Guide
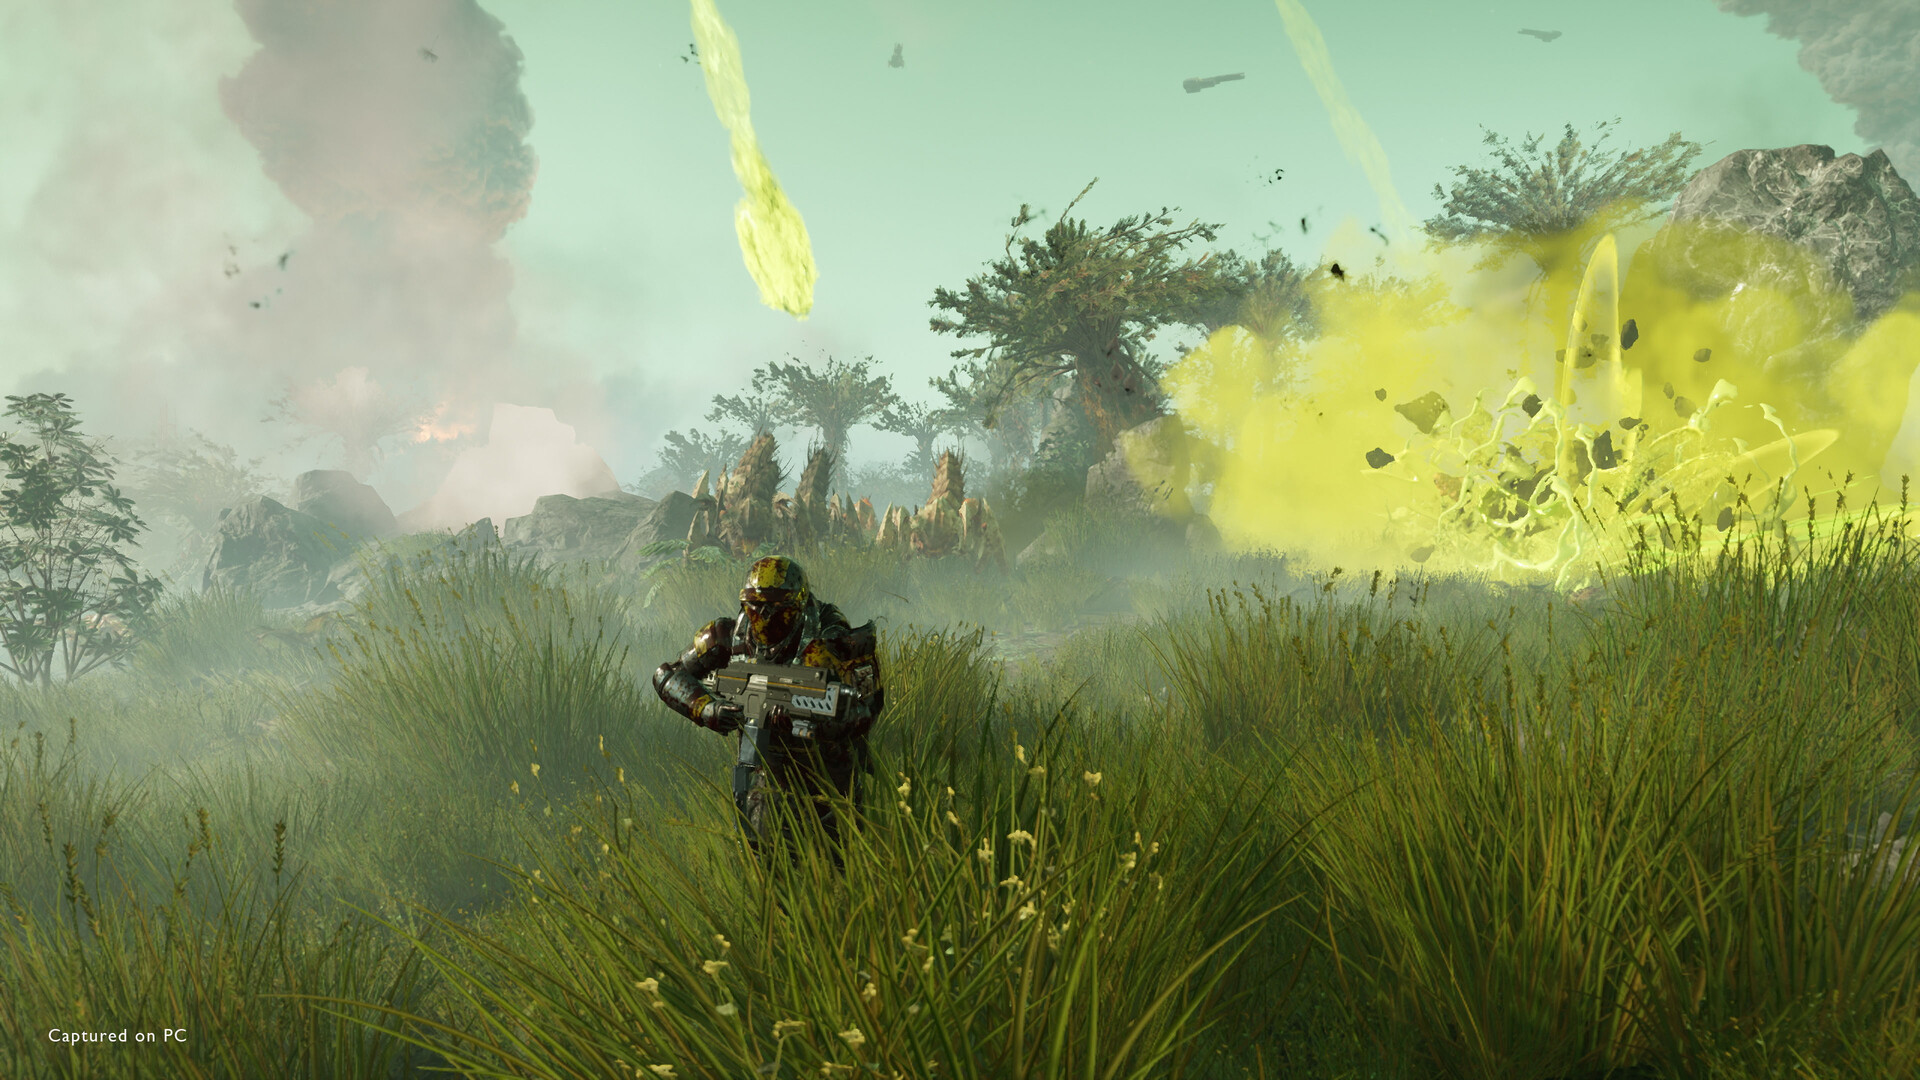
Helldivers 2 is all about controlled chaos, team coordination, and mission discipline. If you want a practical Helldivers 2 walkthrough that helps you survive longer, complete objectives faster, and extract with your squad intact, this guide has you covered.
The game is a cooperative third-person shooter set in a hostile galaxy, and the core loop is simple: drop in, finish the assignment, and get out alive. That simplicity hides a lot of depth, though. Mission modifiers, enemy factions, stratagem timing, and squad roles all matter. The best Helldivers 2 walkthrough is not about playing perfectly; it is about playing smart, staying flexible, and never letting panic take over the mission.
For reference, the game’s main story is reported at roughly 32.43 hours Source, with completionist runs reaching 88.89 hours Source. That lines up with what players feel in practice: a short learning curve, then a long runway of mastery, difficulty scaling, and loadout experimentation.
Preparation & Requirements
Before jumping into the Helldivers 2 walkthrough proper, make sure you are set up for success. Helldivers 2 is not a game where raw aim alone carries the day. You need a loadout that complements your squad and a mindset built for mission objectives, not ego kills.
Know the core mission loop
Every operation follows the same basic rhythm:
- Drop into the planet.
- Move to objectives efficiently.
- Use stratagems to control threats.
- Complete secondary goals when safe.
- Extract before the situation turns into a disaster.
If you keep that order in mind, you will avoid the most common beginner mistake: wandering off to farm kills while the mission timer and reinforcements punish you.
Recommended preparation habits
- Bring a support weapon that matches the faction and terrain.
- Always coordinate at least one anti-armor option in the squad.
- Keep one stratagem slot flexible for emergencies.
- Learn when to disengage instead of overcommitting.
- Treat samples, mission objectives, and extraction as the real prize.
Squad roles that make life easier
A clean squad often covers these jobs:
- Anti-armor specialist: handles Chargers, Tanks, and heavier threats.
- Crowd control: clears swarms and keeps pressure off the team.
- Objective runner: prioritizes terminals, uploads, and map interaction.
- Flexible backup: fills whatever the mission suddenly needs.
What to unlock early
You do not need a perfect build to start, but early unlocks that improve survivability and mission flow are usually the best value. Focus on:
- Reliable primary weapons
- A dependable anti-armor tool
- A support stratagem that helps your team move
- Ship upgrades that make your favorite stratagems more efficient
If you want a companion read, check our related guide on squad loadouts and another related guide on best stratagem picks.
Full Walkthrough
This Helldivers 2 walkthrough is best understood as a mission progression guide rather than a traditional linear story walkthrough. You are not following a fixed campaign path; you are learning how to consistently clear operations across increasingly dangerous fronts.
1. Start on lower difficulties and learn enemy behavior
Begin with missions that let you observe how each enemy faction pushes, flanks, and escalates. The early goal is not speed; it is pattern recognition.
Watch for:
- How patrols chain into reinforcement calls
- Which enemies force you to reposition
- Which objectives create defense-heavy choke points
- How much ammo your current build actually consumes
The first few hours should be about building instincts. If your squad dies to the same patrol twice, that is valuable information, not failure.
2. Prioritize mission objectives over fighting
The biggest step forward in any Helldivers 2 walkthrough is understanding that combat is often a tool, not the objective. Killing enemies can create openings, but it can also burn ammunition, stratagems, and revives.
When approaching a mission:
- Clear only what blocks the objective
- Use terrain to avoid being surrounded
- Finish terminals and interactables quickly
- Move as soon as the job is done
The game rewards disciplined movement. Standing your ground is sometimes correct, but only when the mission requires it.
3. Learn to call stratagems under pressure
Stratagem timing is one of the most important skills in the game. In practice, your squad should treat stratagems like mission-critical tools, not panic buttons.
Best habits:
- Practice input sequences until they are muscle memory
- Call support items before the fight escalates
- Drop offensive stratagems where enemies are forced to path
- Save one emergency tool for extraction or unexpected armor
If you are new, it helps to think of stratagems as area control first and damage second.
4. Handle objective chains carefully
Some missions unfold in stages: activate, defend, upload, destroy, evacuate, or escort. These are where runs often unravel. The key is to split responsibilities without splitting the squad too far.
General approach:
- One player focuses the objective
- One keeps watch on approach lanes
- One handles heavy threats
- One remains flexible for revives or resupplies
Do not rush multiple objective types at once unless the area is already secure. A clean objective chain is better than a messy speedrun attempt.
5. Extract with discipline
Extraction is where many missions are won or lost. People get greedy, overstay, and die with victory in sight.
At extraction:
- Establish a fighting position early
- Place defensive stratagems before the wave peaks
- Revive only when there is room to breathe
- Do not chase distant enemies if the shuttle timer is already running
The best Helldivers 2 walkthrough advice here is simple: extraction is part of the objective. Treat it that way.
6. Push difficulty only when your consistency improves
As you unlock harder missions, do not jump up just because the map looks tempting. A higher difficulty is only worth it when your squad can already:
- Finish primary objectives cleanly
- Survive unexpected armor spawns
- Recover after a bad reinforcement chain
- Extract without burning every resource
That mindset keeps progression steady instead of frustrating.
7. Work toward mission efficiency, not just survival
Once you are comfortable, start optimizing route order:
- Main objective first if the map is dangerous
- Secondary objectives only when the detour is efficient
- Samples when the path is safe and the squad can protect the carrier
- Extraction planned before the final objective is complete
That is where Helldivers 2 really opens up. A good squad starts reading the mission like a puzzle, not just reacting to threats.

Tough Sections Explained
Some parts of the Helldivers 2 walkthrough deserve extra attention because they routinely cause wipes.
Heavy armor waves
Heavily armored enemies are a check on preparation, not just aim. If your squad lacks anti-armor tools, you will feel it quickly.
What helps:
- Concentrated fire on weak points
- Pre-placed stratagems
- One player baiting while another flanks
- Not wasting light weapons into armor unless you are buying time
Dense swarm encounters
Swarm fights become messy when players panic and split up. The answer is usually not more shooting; it is better spacing.
Try this:
- Keep moving in a controlled circle or line
- Don’t overextend for one isolated kill
- Use explosives and crowd-control stratagems early
- Regroup before revives
Objective defense phases
Defense moments are where a mission can spiral. If the objective forces a holdout, set up before the first big wave arrives.
Good defense setup means:
- Clear sightlines
- A resupply location everyone can reach
- At least one anti-armor answer
- Someone watching for flanks instead of tunnel visioning the front
Extraction under pressure
Extraction is a pressure test for teamwork. The toughest thing is often not the enemies, but the temptation to play hero.
Stay disciplined:
- Hold the landing zone
- Use cover intelligently
- Prioritize revives only when safe
- Accept that a clean extraction beats an impressive last stand
What You'll Earn
Progress in Helldivers 2 comes from multiple systems, and a strong walkthrough should explain what you are actually earning as you play.
Mission rewards
You will mainly earn:
- Currency for unlocks
- Samples for ship progression
- Medals for warbond rewards
- Experience toward player progression
- Access to stronger loadout options over time
Strategic rewards
Beyond loot, you earn something more valuable: consistency. That matters because Helldivers 2 is built around repeatable mission execution, not one-time story beats.
Completion rewards
At the high end, completion means:
- Higher difficulty confidence
- Better squad coordination
- More efficient mission routing
- Stronger awareness of faction behavior
- Better extraction success
There are 38 tracked achievements in the game, and Valve’s global stats show the rarest is unlocked by only 10.7% of players Source. That is a good reminder that even experienced players still have skill gaps to close.
If you enjoy achievement hunting, our related guide can help you target the easiest unlocks first.
Optimization Tips
This is where your Helldivers 2 walkthrough becomes a real improvement plan.
Build around mission clarity
Choose gear that answers the question: “What will this mission ask me to do?”
- If there is heavy armor, bring anti-armor
- If there are swarms, bring control
- If there is constant movement, favor mobility and quick-use tools
Keep your squad honest
A lot of runs fail because everyone wants to be the carry. The strongest squads share the burden:
- One player anchors
- One player scouts
- One player deletes armor
- One player cleans up emergencies
Don’t chase every fight
This is the biggest optimization tip in the game. Unnecessary fights cost time, ammo, and reinforcements. If a fight does not move the mission forward, bypass it.
Use terrain as a weapon
Funnels, cliffs, choke points, and line-of-sight breaks are all huge. The map is not just scenery; it is part of your kit.
Avoid greedy looting
Samples and side objectives are worth grabbing, but not at the expense of a full wipe. If the route is risky, revisit it later only if the squad can do so safely.
Respect your cooldowns
If your squad dumps every tool at once, the next wave will punish you. Stagger your responses so you always have something left.
Learn from failed extractions
A failed extraction often teaches more than a clean win:
- Did you arrive too late?
- Was the zone established too slowly?
- Did the team waste revives early?
- Were anti-armor tools saved or spent badly?
That kind of reflection is what turns a basic player into someone who can carry a mission.
FAQ
What is the best way to start Helldivers 2?
Start on easier missions, focus on learning enemy behavior, and build a loadout that covers both crowd control and armor. The early game is about fundamentals, not flashy plays.
How do I stop dying so much in Helldivers 2?
Play closer to your squad, avoid unnecessary fights, and use stratagems proactively. Most deaths come from overextending, getting surrounded, or staying in one place too long.
Can I solo Helldivers 2 effectively?
You can play solo, but the game is clearly designed around cooperation. Solo play demands tighter movement, better loadout planning, and more caution with objectives.
Is Helldivers 2 hard for new players?
Yes, but it is fair once you understand the systems. The learning curve is mostly about timing, positioning, and knowing when to disengage rather than just raw mechanical skill.
How important are stratagems?
Extremely important. In many missions, stratagems are what let your squad survive armored enemies, defend objectives, and stabilize bad situations.
What should I prioritize first in a mission?
Usually the primary objective, unless a side path is extremely safe and efficient. The best teams move with purpose instead of clearing the map for no reason.
Can I use this Helldivers 2 walkthrough for higher difficulties?
Yes. The core principles scale well: coordinated roles, smart stratagem use, disciplined extraction, and avoiding unnecessary engagements all remain important as difficulty increases.
You might also like
- Helldivers 2 tier list: Best Stratagems, Weapons, and Playstyle Picks
- Helldivers 2 Beginner Guide: Situational Survival, Team Play, and Escape Basics
- Helldivers 2 Beginner Guide
- Helldivers 2 Tier List Warbond: Best Warbonds Ranked
- Helldivers 2 on Xbox: Performance, Release & Features
Sources
- https://store.steampowered.com/app/553850/
- https://howlongtobeat.com/?q=Helldivers%202
- https://steamcommunity.com/stats/553850/achievements
You might also like
- Helldivers 2 How to Find and Defeat Stalkers
- Helldivers 2 Builds: Explosive Support Gunner Guide
- Helldivers 2 How to Matchmake and Join Public Games
- Helldivers 2 Viper Commandos Premium Warbond - Guide
- Helldivers 2 Why Now May Be the Perfect Time for a New Enemy Faction
See also
- Helldivers 2 Beginner Guide: Start Strong on Super Earth
- Helldivers 2 Tier List Armor: Best Armor by Tier
- Helldivers 2 How to Find and Defeat Bile Titans
- Helldivers 2 codes: Beginner Guide for New Players
- Helldivers 2 on Xbox: Performance, Release & Features
- Helldivers 2 TR-7 Ambassador of the Brand Beginner Guide
- Helldivers 2 Urban Legends Premium Warbond - Guide
- Helldivers 2 DP-11 Champion of the People Beginner Guide
- Helldivers 2 How to Find and Defeat Bile Spewers
- Helldivers 2 Beginner Build Guide
- Helldivers 2 Force of Law Premium Warbond Beginner Guide
- Helldivers 2 Beginner Guide: Start Strong, Spend Smart, and Survive the Early War
- Helldivers 2 Beginner Guide: Getting Started on PS4, Smart Early Progress, and Common Mistakes
- Helldivers 2 Beginner Guide: Getting Started, Smart Progression, and the Helldivers 2 Cutting Edge Premium Warbond
- Helldivers 2 How to Find and Locate Chargers
See also
- Helldivers 2 Eagle Rearm Guide for Beginners
- Helldivers 2 Truth Enforcers Premium Warbond - Guide
- Helldivers 2 All Mission Types: Beginner Guide
- Helldivers 2 Beginner Guide: Xbox Launch and ODST Warbond Release Time
- Helldivers 2 How to Get the CM-17 Butcher Armor Set
- Helldivers 2 DP-40 Hero of the Federation Beginner Guide
- Helldivers 2 B-08 Light Gunner Beginner Guide
- Helldivers 2 Beginner Guide: Smart First Steps, Resources, and Common Mistakes
- Helldivers 2 DP-53 Savior of the Free Beginner Guide
- Helldivers 2 How to Farm Super Credits: Tips and Tricks
- Helldivers 2 How to Get the CE-67 Titan Armor Set
- Helldivers 2 Chemical Agents Premium Warbond Beginner Guide
- Helldivers 2 How to Get Armor Piercing Rounds: Beginner Guide
- Helldivers 2 CE-35 Trench Engineer Beginner Guide
- Helldivers 2 How to Get the EX-03 Prototype 3 Armor Set
Screenshots


Reviewed by
HD2 Guides Editorial
Expertise: Editorial team behind HD2 Guides. Content is compiled from official patch notes, community wikis, and playthrough notes, then reviewed and updated on schedule.
Sources
Helldivers 2 Missions Guides →
Browse the complete missions collection and its focused guides.
Related Guides






🔥 Popular Guides
Helldivers 2 helldivers 2 warhammer 40k collaboration update Patch Notes Explained
Helldivers 2’s Warhammer 40K crossover adds Castellan’s Creed, new weapons, armor, enemies, missions, SEAF allies, and more.
Helldivers 2 super helldive achievement guide
Achievement guide for Helldivers 2 covering rare trophies, hidden requirements, missable timing, and a full Super Helldive completion route.
HELLDIVERS™ 2 all achievements: complete achievements guide
Full Helldivers 2 achievements guide with rarest trophies, hidden unlocks, missables, and a 100% completion route.
Helldivers 2 patch notes 7.0.2: What changed in the Void update era
What changed in Helldivers 2 patch notes 7.0.2, including new Illuminate threats, SEAF support, the level cap increase, and squad action items.
📋 Patch Notes & Updates
🛠️ Popular Tools
Frequently Asked Questions
Quick answers from the guide · click a question to expand.
What is the best way to start Helldivers 2?
Start on easier missions, focus on learning enemy behavior, and build a loadout that covers both crowd control and armor. The early game is about fundamentals, not flashy plays.
How do I stop dying so much in Helldivers 2?
Play closer to your squad, avoid unnecessary fights, and use stratagems proactively. Most deaths come from overextending, getting surrounded, or staying in one place too long.
Can I solo Helldivers 2 effectively?
You can play solo, but the game is clearly designed around cooperation. Solo play demands tighter movement, better loadout planning, and more caution with objectives.
Is Helldivers 2 hard for new players?
Yes, but it is fair once you understand the systems. The learning curve is mostly about timing, positioning, and knowing when to disengage rather than just raw mechanical skill.
How important are stratagems?
Extremely important. In many missions, stratagems are what let your squad survive armored enemies, defend objectives, and stabilize bad situations.
What should I prioritize first in a mission?
Usually the primary objective, unless a side path is extremely safe and efficient. The best teams move with purpose instead of clearing the map for no reason.
Can I use this Helldivers 2 walkthrough for higher difficulties?
Yes. The core principles scale well: coordinated roles, smart stratagem use, disciplined extraction, and avoiding unnecessary engagements all remain important as difficulty increases.
Was this guide helpful?
Rate this guide so we can improve it.
Share your own tip
Found something not in the guide? Submit it below — our editors review every tip before publishing. No account required.