 Helldivers 2
Helldivers 2 Builds 2026: Eagle-First All-Rounder Build
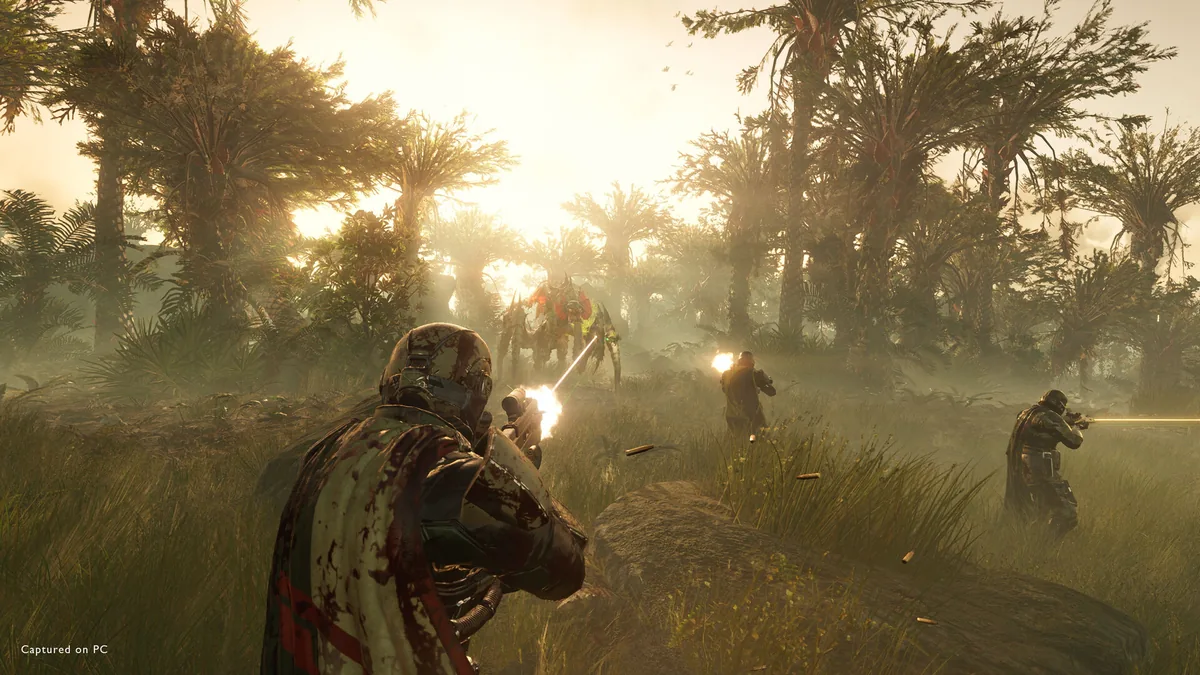
Quick Answer: The best Helldivers 2 builds 2026 focus on flexible anti-armor, fast objective clears, and dependable survivability, with a support kit built around Eagle strikes, one heavy answer, and one panic tool.
Build Identity
This build is a flexible strike leader that handles patrols, objectives, and armored targets without locking you into a single enemy type or mission family. It plays like a practical all-rounder for public squads and coordinated teams alike: you move with the squad, soften targets before contact, and keep one answer ready for heavy armor or extraction pressure.
The elevator pitch is simple: bring enough crowd control to survive mistakes, enough anti-armor to stop Chargers and Hulks, and enough mobility to keep pace with the mission. In the current meta, that matters more than trying to over-specialize into one enemy faction or one mission lane. A build that can delete a bug breach, crack a bot convoy, and still recover when the team splits is usually the most reliable choice for players searching for helldivers 2 builds 2026.
A strong version of this build usually centers on these examples of play:
- A bug mission where you use Eagle air support to thin a swarm before the team is boxed in.
- A bot mission where you save an orbital or support weapon for Devastators, Hulks, or a fortified objective.
- An extraction under pressure where your last stratagem is not damage but survival, such as a deployable support tool or area denial.
The important part is that this build does not assume perfect aim or perfect squad discipline. It is designed to cover common failure points. If the team is slow to react, you still have tools. If the squad is light on anti-armor, you can fill that gap. If the mission turns into a scramble, you have a way to reset the fight instead of only hoping your primary weapon carries the day.
For most players, this is the safest “default serious build” to learn first because it teaches the game’s core loop: spot threat, call support, reposition, and keep moving toward the objective rather than trying to stand and trade shots.
Stat / Attribute Priorities
Your priorities should favor survival, mobility, and mission control over raw personal damage. Helldivers 2 does not reward stat stacking in the classic RPG sense, so the real “attributes” here are the practical qualities that matter when choosing armor, weapon roles, and stratagem slots.
- Mobility first: You need enough movement freedom to reposition after a bad drop, a Charger charge, or a bot volley. Medium armor and any setup that keeps stamina management comfortable are better than heavy, slow builds for this style.
- Anti-armor coverage second: One reliable answer for elite enemies is mandatory. That can mean a support weapon, an orbital strike, or a long-cooldown finisher, but the build should never be forced to rely on primaries alone against armor.
- Crowd control third: Swarms and patrols are what turn one mistake into three deaths. AOE stratagems, explosives, or weapons with strong area pressure matter more than pure single-target damage.
- Objective speed fourth: The faster you can clear fabricators, nests, terminals, detector towers, or mission-side targets, the less time enemies have to escalate the situation. A good build earns its place by shortening exposure.
- Ammo efficiency fifth: Long missions punish waste. If you burn support ammo too early, the “strong” build becomes a fragile one by the final objective or extraction.
- Team utility last, but not optional: Even in random squads, tools that help others survive or stabilize the fight are worth more than niche damage boosts.
A useful way to think about these priorities is to compare the role of each piece of your kit. The table below keeps the logic visible:
| Priority | What to favor | Why it matters |
|---|---|---|
| Mobility | Medium armor, stamina comfort, reposition-friendly tools | Lets you survive mistakes and keep objective pace |
| Anti-armor | Recoilless-style answers, heavy orbitals, armor-breaking stratagems | Prevents chargers, hulks, and other elites from dictating the fight |
| Crowd control | Eagles, barrages, explosives, wide-area weapons | Clears pressure before it becomes a collapse |
| Objective speed | Fast-deploy stratagems and versatile primaries | Reduces time under fire and mission attrition |
| Ammo efficiency | Weapons with controlled bursts or strong reserve management | Keeps the build functional beyond the first engagement |
| Utility | Resupplies, area denial, defensive tools | Helps the squad recover from mistakes |
Armor choice should support the same logic. Light armor is viable if you are disciplined about movement and dodging, especially in bug-heavy missions where you can create space. Medium armor is the most natural fit for this build because it gives you a better balance of protection and responsiveness. Heavy armor can work on some bot missions, but it is generally less forgiving if you are trying to answer multiple threats while staying mobile.
Weapon handling matters too. A primary like the AR-23 Liberator, SG-225 Breaker, or R-36 Eruptor pushes the build in different directions, but the shared priority is always the same: your primary should handle the enemies that are not worth spending your strongest stratagem on. That leaves your support slot and orbitals free for the fights that actually need them.

You might also like
- Helldivers 2 Warbond Tier List
- Helldivers 2 weapon tier list
- Helldivers 2 Tier List Secondary
- Helldivers 2 Build Automaton: Best Loadout and Tactics
- Helldivers 2 Build for Illuminate: Best Loadout, Roles, and Counters
Recommended Loadout
This loadout is built to be practical in mixed squads, not just in ideal lobbies. It favors dependable answers over flashy specialization, which is the right instinct for most helldivers 2 builds 2026 discussions because the game punishes overcommitting to a single answer.
Core Gear
| Slot | Item | Reason |
|---|---|---|
| Primary | AR-23 Liberator | Reliable baseline rifle for general-purpose fighting and ammo economy |
| Secondary | P-19 Redeemer | Emergency close-range backup when enemies breach your spacing |
| Grenade | G-16 Impact | Fast detonation for clustered enemies, nests, and emergency cleanup |
| Armor | Medium armor with a balanced passive | Keeps movement and survivability in a usable middle ground |
| Support Weapon | Recoilless Rifle or Autocannon | Gives the build a consistent anti-armor or medium-armor answer |
| Stratagem 1 | Eagle Airstrike | Strong all-round damage for patrols, objectives, and grouped targets |
| Stratagem 2 | Eagle Cluster Bomb or Orbital Precision Strike | Flexible area pressure or a single-target finisher depending on mission type |
| Stratagem 3 | Resupply | Keeps the kit functional through extended fights and extraction |
| Stratagem 4 | Shield Generator Pack or defensive utility | Helps stabilize against chip damage, rockets, and surprise pressure |
The exact primary can shift based on preference, but the role should remain the same. If you like closer fights, SG-225 Breaker is a natural swap because it deletes short-range pressure. If you want more explosive utility and are comfortable with slower handling, R-36 Eruptor can cover clustered enemies and certain objectives with strong burst damage. If you prefer a steadier, more predictable rifle, the AR-23 Liberator remains a clean default.
For the support slot, the Recoilless Rifle is the straightforward anti-armor anchor. It gives you a clear job: remove the heavy thing that is shaping the fight. The Autocannon is the more flexible option when you expect a lot of medium armor, structures, or targets that punish weak primary damage. In team play, either one can be the center of a useful loadout as long as the rest of the kit covers your weaknesses.
The stratagem layer is where the build really becomes reliable. Eagle Airstrike is one of the easiest ways to convert a messy battlefield into a manageable one. A Cluster Bomb style choice is better when your main issue is massed infantry and you want less precision burden. An Orbital Precision Strike is better when the mission keeps throwing priority targets into predictable lanes. This is the kind of tradeoff experienced players make repeatedly, and it is worth tailoring to the mission rather than treating one fixed list as mandatory.
Alternative Weapon Examples
| Situation | Better pick | Why |
|---|---|---|
| Dense bug swarms | Breaker-style shotgun | Faster close-range cleanup and panic response |
| Mixed enemies and structures | Autocannon | Versatile medium-armor pressure and objective utility |
| Heavy armor focus | Recoilless Rifle | Clear anti-tank role against elites |
| Safer mid-range play | Liberator or similar rifle | Easier control and steadier ammo usage |
The right loadout is not just about damage output. It is about not wasting your strongest tools on trash enemies, because that is how missions spiral. A good build gives you a reason to hold fire, reposition, and choose the right answer instead of dumping everything the moment a patrol appears.
Skill Rotation and Stratagem Priority
Your stratagem priority should follow threat level, not cooldown convenience. Helldivers 2 rewards the player who answers the immediate problem first and saves the “expensive” button for the moment it changes the mission state.
A practical rotation looks like this:
- Scout the pack or objective first: identify whether the threat is infantry, mixed armor, or a heavy target.
- Open with Eagle Airstrike or your chosen area tool: use it to cut the size of the fight before you commit on foot.
- Swap to primary for survivors: clean up weakened units with the cheapest ammo you can spend.
- Deploy the support weapon when armor appears: this is the moment for Recoilless Rifle, Autocannon, or your heavier answer.
- Use the defensive slot when the team loses tempo: shield, resupply, or another survival tool is for reset moments, not greed.
- Save one major answer for extraction or objective defense: do not spend every strong stratagem just because it is available.
This priority system matters because the game’s encounters often come in layers. A patrol becomes a breach, the breach becomes an objective stall, and the objective stall becomes a failed extraction. The best builds stop that chain early. In practice, that means using your best tool on the most dangerous enemy group you can reliably hit, then using your ordinary weapons to finish what is left.
For example, on a bug mission, an Eagle strike into a patrol can prevent the spawn from snowballing into Chargers or an overwhelming swarm. On a bot mission, an orbital or support weapon shot that removes a Devastator pack can keep you from being pinned behind cover while rockets and lasers stack up. On an extraction, your priority shifts again: area denial and survival are more valuable than chasing one last kill.
Here is a simple priority table for common situations:
| Situation | Priority action | Secondary action |
|---|---|---|
| Patrol spotted at range | Mark, reposition, then use a low-commitment strike | Finish with primary fire |
| Multiple light enemies on objective | Use area damage first | Hold support ammo |
| Elite enemy closes distance | Commit your anti-armor answer | Move immediately after firing |
| Squad gets pinned | Drop defensive utility or resupply | Break line of sight |
| Extraction begins | Save a major stratagem for the final wave | Protect the landing zone |
Players often overuse their strongest options too early because the opening minutes feel comfortable. That habit is expensive later. A build like this works because it teaches restraint: the strongest button is not for every encounter, only the one that is about to decide the mission.
Counters and Hard Matchups
This build is weakest when the game denies you space, ammo, or clean angles. It does well against broad mission pressure, but certain enemy patterns and map conditions can still shut it down if you play it carelessly.
The most common hard matchups are:
- Fast melee pressure in close terrain: Bug swarms, tight caves of movement, and dense objective areas can force you into poor spacing if you panic.
- Heavy ranged suppression: Bot lines with rockets, lasers, and multiple durable targets can punish standing still while you line up support fire.
- Armor stacked with swarm support: Chargers with smaller enemies around them, or heavy bot units supported by infantry, can force you to spend too many resources at once.
- Low visibility and poor landing zones: Fog, debris, and bad approach paths reduce the value of long-range or precision tools.
- Ammo starvation in long operations: If the squad burns resupplies badly, this build becomes much less comfortable by the late mission.
The answer is not to abandon the build. It is to adapt the way you use it. If close-range swarms are the issue, swap toward a stronger panic primary or a more explosive grenade style and keep your movement sharper. If bots are pinning you down, treat cover as a weapon and use your support slot only after you force a lane open. If armor is the issue, do not waste time trying to chip it down with the wrong gun. Reset the fight, call the correct stratagem, and move.
Concrete examples of adaptation:
- Against Chargers, rely on a real anti-armor answer instead of trying to outshoot them with a primary.
- Against Hulks, use the support weapon or a precise strike, then relocate before the next volley lands.
- Against multiple Devastators, avoid face-tanking the line and break the engagement with cover, timing, and a strong strike.
A compact comparison helps show where this build struggles and how to patch the weakness:
| Hard matchup | Why it is dangerous | Adaptation |
|---|---|---|
| Bug swarms at point-blank range | You lose space and get overwhelmed | Use a shotgun-style primary or faster area damage |
| Rocket-heavy bot groups | You get staggered and denied cover | Fight from angles, not open lanes |
| Heavy armor plus adds | One tool is not enough | Strip adds first, then commit anti-armor |
| Long extraction with low ammo | The build runs out of room | Hold resupply and conserve support shots |
| Poor visibility maps | Precision suffers | Favor wider area tools and slower advances |
The main lesson is that this build wants controlled fights, not prolonged chaos. When the battlefield becomes chaotic anyway, the correct response is not stubbornness. It is to slow down, change spacing, and spend the right tool at the right moment.
Budget vs Endgame Variant
The budget version should keep the same role even if the equipment is weaker or easier to unlock. The endgame version mainly improves consistency, survivability, and mission coverage, not the core identity of the build.
The budget setup is aimed at players who do not yet have every preferred stratagem, weapon, or armor piece. A very workable starting version can use:
- Primary: AR-23 Liberator or another early reliable rifle
- Secondary: Any dependable sidearm you already own
- Grenade: Basic explosive or utility grenade that fits your control needs
- Support weapon: A straightforward anti-armor option you can access early
- Stratagems: Eagle Airstrike, resupply, and any general-purpose defensive tool you have unlocked
The point is not to chase the most famous items right away. The point is to keep the structure intact: one general-purpose primary, one real anti-armor answer, one area tool, and one sustain slot. Even a stripped-down version can function if the slots all have a job.
The endgame version improves those same slots with more specialized pieces:
- Primary can shift to a weapon that better matches your preferred engagement range.
- Support weapon can become more mission-specific, such as leaning into heavier armor control or stronger medium-armor clear.
- Stratagems can be optimized for faction and mission type, using more precise counters where the map demands it.
- Armor passive can be tuned to your habits, such as preferring more mobility or more resistance depending on whether you play bugs, bots, or mixed operations.
Here is a practical comparison:
| Slot | Budget choice | Endgame choice | Why the upgrade matters |
|---|---|---|---|
| Primary | Liberator-style rifle | A stronger preference-based primary | Better matchup coverage and comfort |
| Support weapon | Basic anti-armor option | Recoilless Rifle or Autocannon-style core | More dependable elite control |
| Area damage | Eagle Airstrike | Mission-tuned offensive stratagem | More efficient threat removal |
| Utility | Basic resupply or defense tool | More consistent sustain or protection | Better recovery under pressure |
| Armor | Balanced starter armor | Medium armor tuned to playstyle | Smoother movement or better survivability |
A budget build is perfectly valid if it keeps you alive and useful. In this game, a player with simple tools and good timing usually contributes more than a player with a premium kit who spends everything at the wrong time. That is why the best helldivers 2 builds 2026 are often not the most expensive ones, but the ones that preserve decision-making room.
Common Mistakes
The most common mistakes come from treating the build like a damage checklist instead of a mission tool. When players do that, they spend resources too early, choose the wrong target, or lose the spacing that keeps the build functional.
- Using the strongest stratagem on the first patrol: Players do this because the fight feels annoying and the cooldown looks available. Fix it by saving major tools for elites, objective defense, or extraction pressure.
- Trying to kill armor with the primary: This happens when players hesitate to commit support ammo or a stratagem. Fix it by assigning one real anti-armor answer to the job and using it decisively.
- Standing still after firing support weapons: Many players forget the return fire is already coming. Fix it by making movement the follow-up to every heavy shot.
- Ignoring ammo economy: Players burn support ammo on ordinary enemies because it feels faster. Fix it by using your primary for cleanup and reserving premium shots for threats that actually demand them.
- Packing too many damage tools and no recovery tool: This is common in solo-minded loadouts. Fix it by leaving at least one slot for resupply, protection, or a reset option.
- Overcommitting to one enemy faction: Players tune a loadout for bugs or bots and then bring it everywhere. Fix it by keeping at least one flexible slot that works across mission types.
- Fighting in the open when cover is available: This feels natural in easy encounters but collapses on harder missions. Fix it by moving before the fight becomes a crossfire.
These mistakes are not mysterious. They are usually habits from action games that reward personal gun skill more than planning. Helldivers 2 is harsher than that. The game wants disciplined resource use, movement, and role coverage, and this build only works if you respect those rules.
Pro Tips
Tip 1. Fire the big tool before the breach widens
When a patrol starts clustering or a wave is forming around an objective, use your area stratagem before the fight fully commits. That timing often prevents extra elites from spawning into an already bad situation.
Tip 2. Treat your support weapon as a tempo reset
If the team is losing pace, stop trying to outgun the pressure with the primary. Pull the anti-armor or medium-armor tool immediately and clear the target that is shaping the engagement, then move.
Tip 3. Save one answer for extraction
Extraction is where many good runs turn messy, so hold one major offensive or defensive stratagem for the landing zone. That one saved button often matters more than the earlier kills it could have earned.
Tip 4. Use terrain to turn a bad fight into a series of small fights
Corners, rocks, buildings, and elevation changes let you control which enemies can see you. This is especially important against bot fire lines and any mission where enemy ranged pressure stacks quickly.
Tip 5. Change your grenade use based on the enemy shape
Impact-style grenades are excellent when enemies are tightly grouped, but they are most useful if you throw them to stop momentum rather than to “finish” already harmless targets. Use them at the start of a breach or the peak of a rush.
Tip 6. Keep one weapon for the problem you cannot improvise through
Your primary should handle ordinary enemies, but one slot must be dedicated to a problem you cannot solve cleanly with movement alone. That can be armor, structure damage, or a high-priority threat that must die on sight.
FAQ
What makes a build good in Helldivers 2?
A good build covers armor, crowd pressure, and mission pace without depending on perfect aim or a perfect squad.
Should I build for bugs and bots separately?
Yes, if you play often enough to justify it, but a flexible core build is better for general use and random squads.
Is heavy armor worth it?
Heavy armor can work in some bot-focused setups, but medium armor is usually the most reliable balance for a flexible all-rounder.
Do I need premium gear for a strong build?
No. A disciplined loadout with a real anti-armor answer and a good area tool can perform well without chasing every premium option.
What should I prioritize if my squad lacks anti-armor?
Take the anti-armor job yourself and simplify the rest of the loadout so you still have room for crowd control and survival.
Related Guides
- Best Helldivers 2 beginner builds
- Best Helldivers 2 anti-armor loadouts
- Best Helldivers 2 solo builds
- Best Helldivers 2 bug mission builds
- Best Helldivers 2 bot mission builds
- Best Helldivers 2 support weapon tier list
- Best Helldivers 2 stratagem combinations
- Helldivers 2 armor guide
Sources
- https://store.steampowered.com/app/553850/
- https://howlongtobeat.com/?q=Helldivers 2
- https://api.steambase.io/games/553850
- https://www.protondb.com/app/553850
- https://www.steamcommunity.com/stats/553850/achievements
- https://www.metacritic.com/game/helldivers-2
See also
- Helldivers 2 update release date: Patch Notes Explained for Arrowhead’s anti-cheat and quality-of-life push
- Helldivers 2 update patch notes Explained: Arrowhead’s anti-cheat push and what it means for players
- Helldivers 2 update trailer Patch Notes Explained: anti-cheat focus, what changed, and what players should do next
- Helldivers 2 Build Guide: Best Anti-Armor Support Build
- Helldivers 2 upcoming updates: Patch Notes Explained
- Helldivers 2 next update Explained: What Arrowhead’s latest patch changed
- Helldivers 2 update roadmap: Patch Notes Explained
- Helldivers 2 Tier List Armor: Best Armor by Tier
- Helldivers 2 major update Explained: Anti-Cheat and Super Credits Changes
- Helldivers 2 Tier List Warbond: Best Warbonds Ranked
スクリーンショット

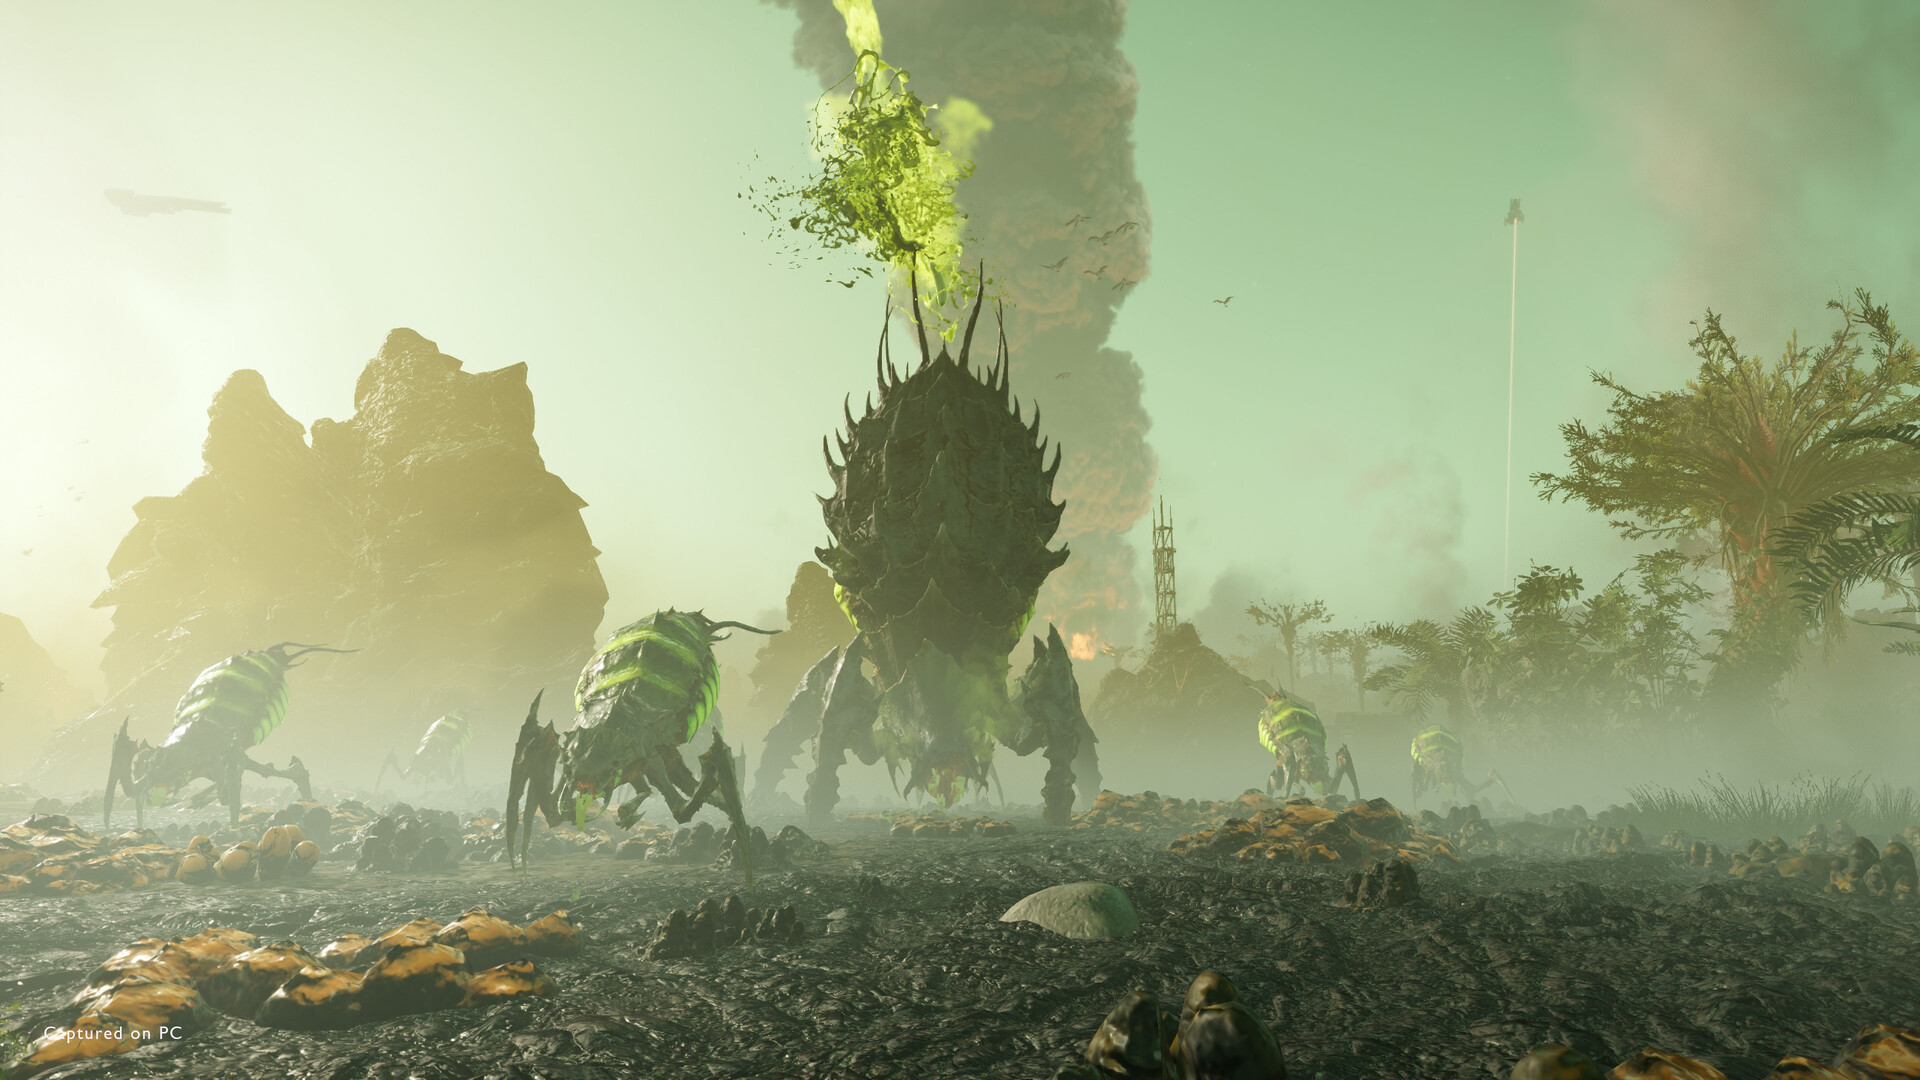

レビュー担当
HD2 Guides Editorial
専門分野: Editorial team behind HD2 Guides. Content is compiled from official patch notes, community wikis, and playthrough notes, then reviewed and updated on schedule.
出典
🔥 急上昇ワード
Helldivers 2 スーパーヘルダイブ実績ガイド
Helldivers 2のレアトロフィー、隠し条件、取り逃しやすいタイミング、そしてSuper Helldiveまでの完全攻略ルートをまとめた実績ガイド。
Helldivers 2 Urban Legends プレミアム・ウォーボンドの解放要素一覧とコスト
Urban Legendsは1,000 Super Creditsで購入でき、解放要素は22個、Helldivers 2で全解放するには836 Medalsが必要です。
Helldivers 2 無料メンバーで何ができる?
Helldivers 2で無料メンバーが利用できる範囲、ティア制限、入手方法、活用法、よくある誤解までまとめて解説。
Helldivers 2 フレンドリクエスト保留バグとは何か
Helldivers 2のフレンドリクエスト保留バグで何が起きるのか、なぜクロスプレイ招待が失敗するのか、表示されない・反応しないリクエストの対処法を解説します。
📋 パッチノート解説
🛠️ 人気ツール
よくある質問
ガイドの要点を即答 · 質問をクリックで展開。
What makes a build good in Helldivers 2?
A good build covers armor, crowd pressure, and mission pace without depending on perfect aim or a perfect squad.
Should I build for bugs and bots separately?
Yes, if you play often enough to justify it, but a flexible core build is better for general use and random squads.
Is heavy armor worth it?
Heavy armor can work in some bot-focused setups, but medium armor is usually the most reliable balance for a flexible all-rounder.
What should I prioritize if my squad lacks anti-armor?
Take the anti-armor job yourself and simplify the rest of the loadout so you still have room for crowd control and survival.
このガイドは役に立ちましたか?
改善のため、このガイドを評価してください。
Share your own tip
Found something not in the guide? Submit it below — our editors review every tip before publishing. No account required.